Transform a plain clipboard with fabric, paint, and Mod Podge! A fun and easy craft to personalize your office or school supplies. Makes a great gift too, especially for teachers.
Skills Required: Beginner. I recommend doing a test with a scrap piece of wood and fabric if you have never Mod Podged before, so you can make sure you don’t get wrinkles. Otherwise, you’ll be good to go! This is relatively simple.
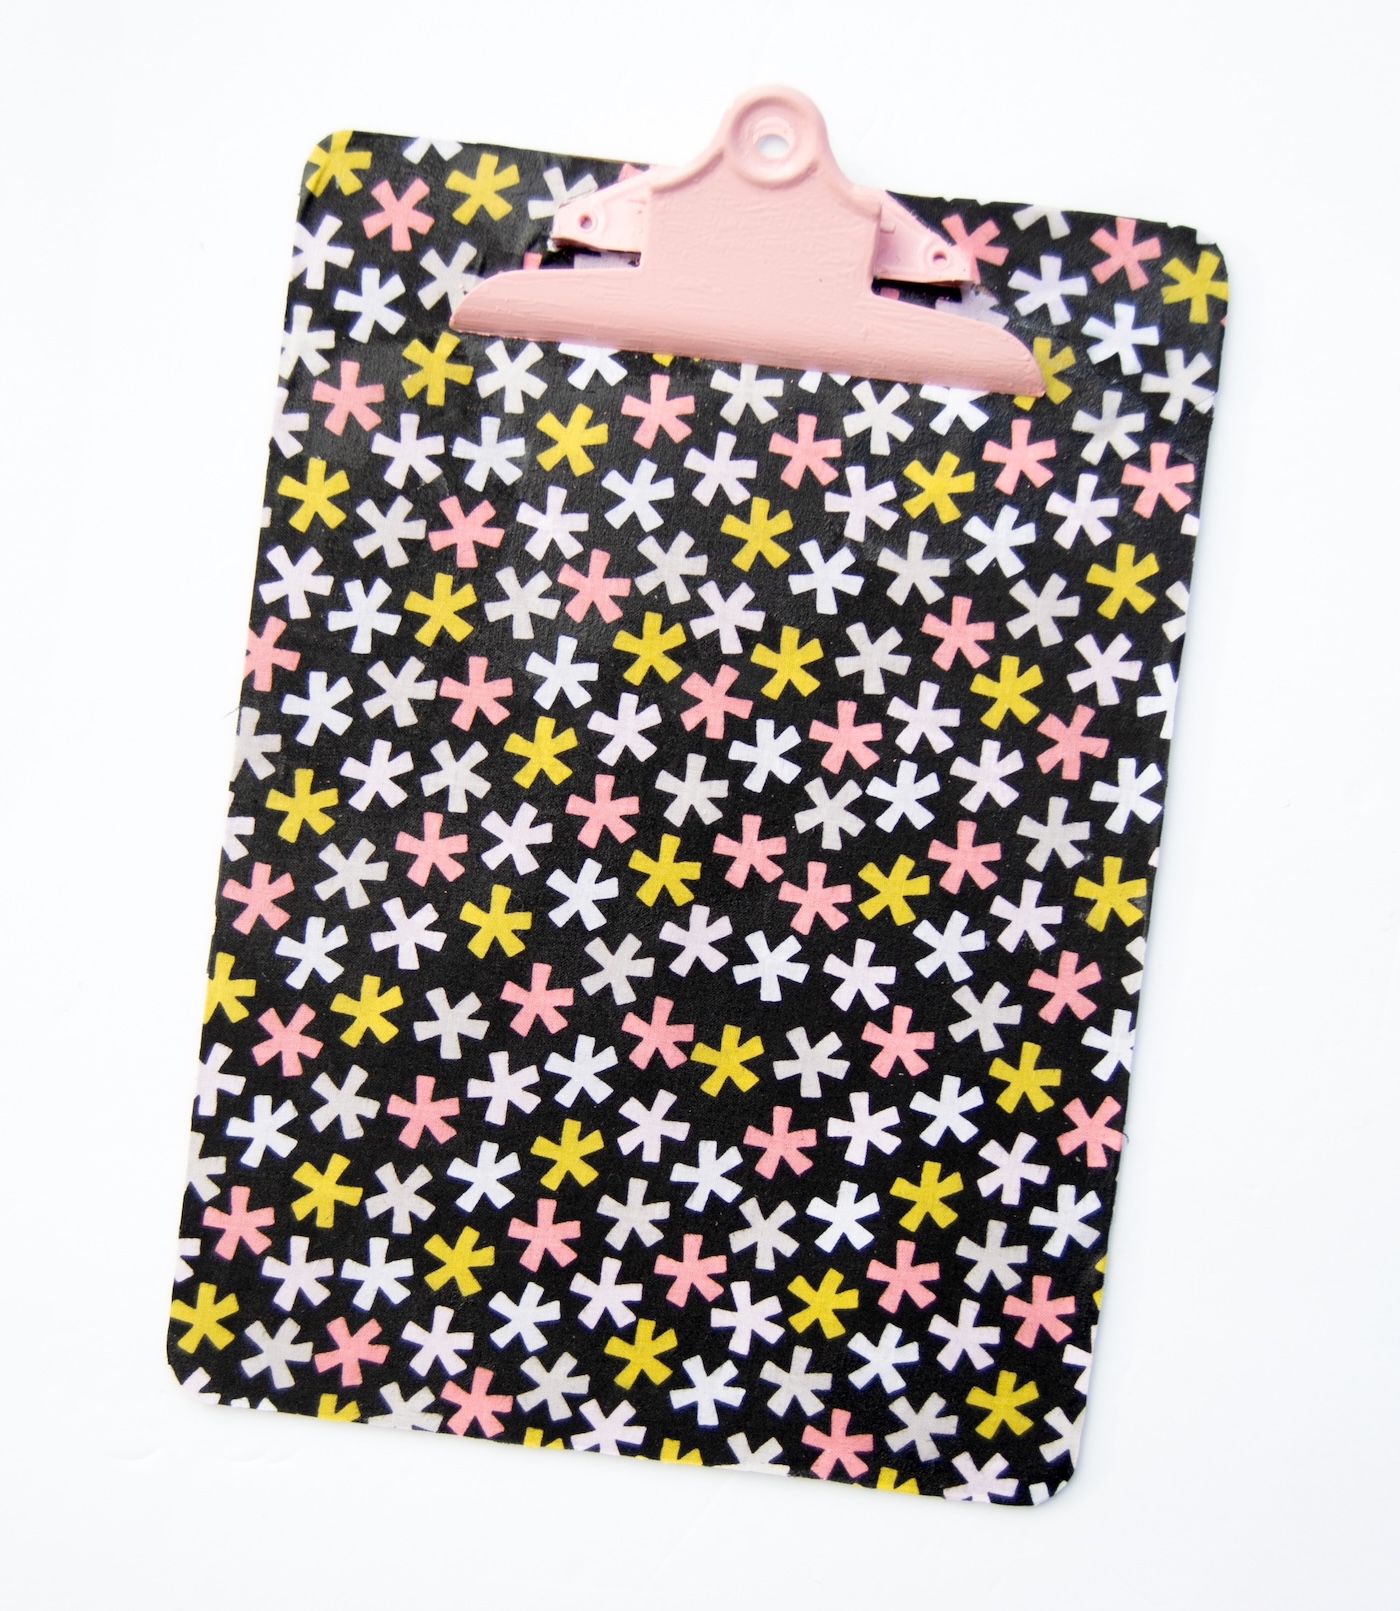
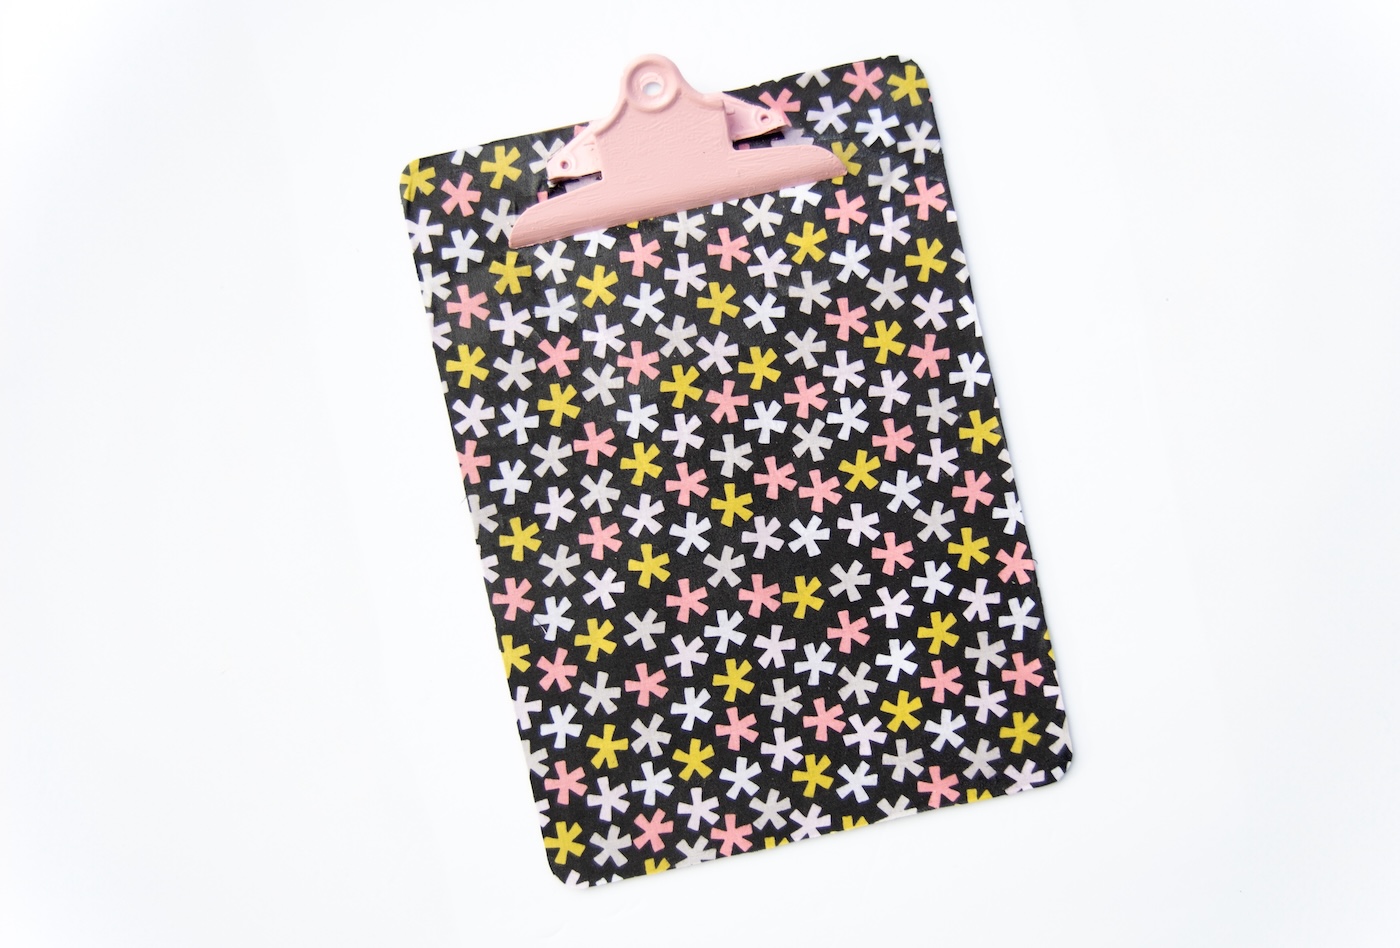
Let’s be honest – you could have a plain, brown clipboard, or you could have something way cooler. Basic brown just doesn’t do it for me, so I decided to give a brand new clipboard a Mod Podge makeover!
And while I was crafting, I had a special person in mind: my mom, who spent years as a fifth-grade teacher. She might be retired now, but she still appreciates cute school supplies.
Wouldn’t this make an awesome gift for a teacher? Whether for a classroom, home office, or just someone who loves a little extra flair in their workspace, a personalized clipboard is both practical and fun.
Plus, it’s incredibly easy to make! All you need is some Mod Podge, fabric (scrapbook paper works too), and a few simple supplies to create something unique.
This project is perfect for beginners – so if you’re new to Mod Podge, this is a great place to start.
The best part? You can completely customize it with any design, colors, or patterns you love. Want something sleek and modern? Go for it. Prefer bright and bold? Make it pop! The possibilities are endless.
Whether you’re making one for yourself, a teacher, or a friend who loves organization, this DIY clipboard is going to be a hit. Ready to ditch the boring brown and upgrade your office supplies? Let’s do this!
Get the printable how to below:
Decorate a Clipboard
Learn how to decorate a clipboard with fabric and decoupage medium, an easy craft perfect for gifting.
Prep Time20 minutes mins
Active Time1 hour hr 30 minutes mins
Dry Time2 hours hrs
Total Time3 hours hrs 50 minutes mins
Yield: 1 clipboard
Cost: $5
-
Lay the clipboard on the back of your fabric. Trace around and loosely cut the material using your scissors. Set aside.
-
Use painter’s tape around the clip to protect the back from being spray painted and sticking to the clip. If it has a plastic covering, leave it to protect the clipboard back.
-
Use a few light coats of spray paint on the clip until it is fully covered (on the top as well as inside), making sure to let it dry in between. Let dry completely when done.
-
Working in sections, Mod Podge your material onto the clipboard. If your clipboard is MDF, apply a layer of Mod Podge on the material before adhering it down, and then apply another layer of Mod Podge on top of the material to reinforce the adhesion. Let each section dry before moving on to the next.
-
When you get to the top section, cut a slit on the top part of the material to fit around the clip. Cut any excess fabric that would overlap the clip backing, before Mod Podging it down.
-
Apply another layer of Mod Podge on top of the material as a final coat.
-
Trim the excess material around the clipboard and use Mod Podge to secure the edges. Let it dry.
Optional final step: Use clear or iridescent acrylic spray to protect the surface further.
Did you enjoy decorating a clipboard? Then you’re probably going to love these other homemade gift ideas:
DIY Magnets • DIY Notebook • Glitter Mug • Make a Keychain • Mod Podge Coasters • Painted Wooden Spoons • Photo Blocks • Photo Bracelet • Photo Pillows • Travel Mug