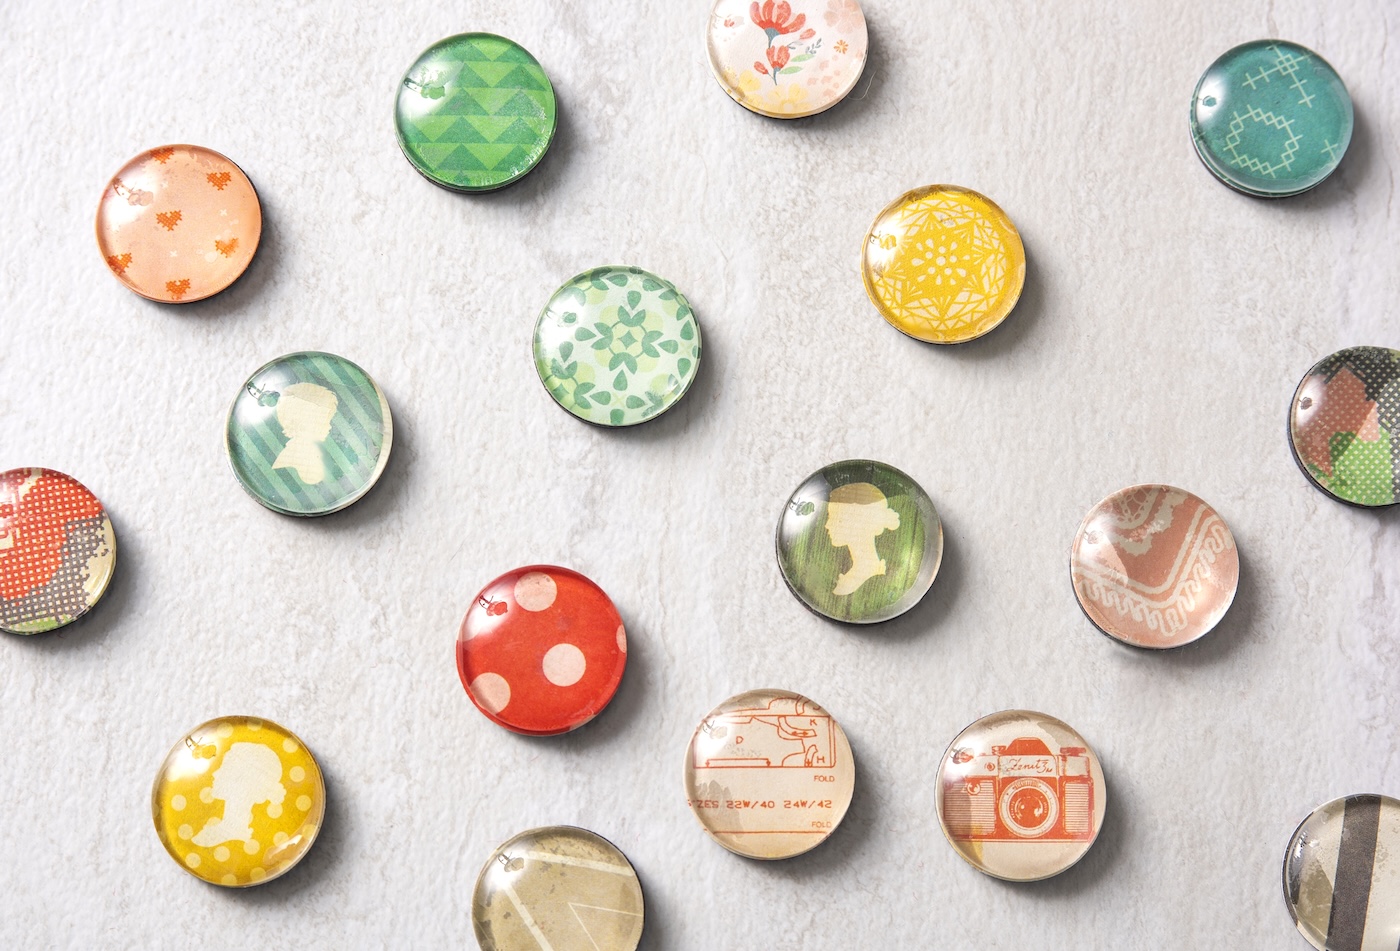
These DIY Mod Podge magnets are cute, customizable, and easy to make with scrapbook paper and glass gems! Perfect for kids’ crafts, gifts, or fridge decor.
Skills Required: None. You don’t need any prior crafting skills to make these magnets – they are simple enough for anyone to make, including children.
Looking for a craft that’s easy, cute, and actually useful? These DIY Mod Podge magnets are about to become your fridge’s new best friends.
Made with just a few supplies — glass gems, scrapbook paper, and Mod Podge — they’re the kind of project that checks all the boxes: beginner-friendly, budget-conscious, and totally customizable.
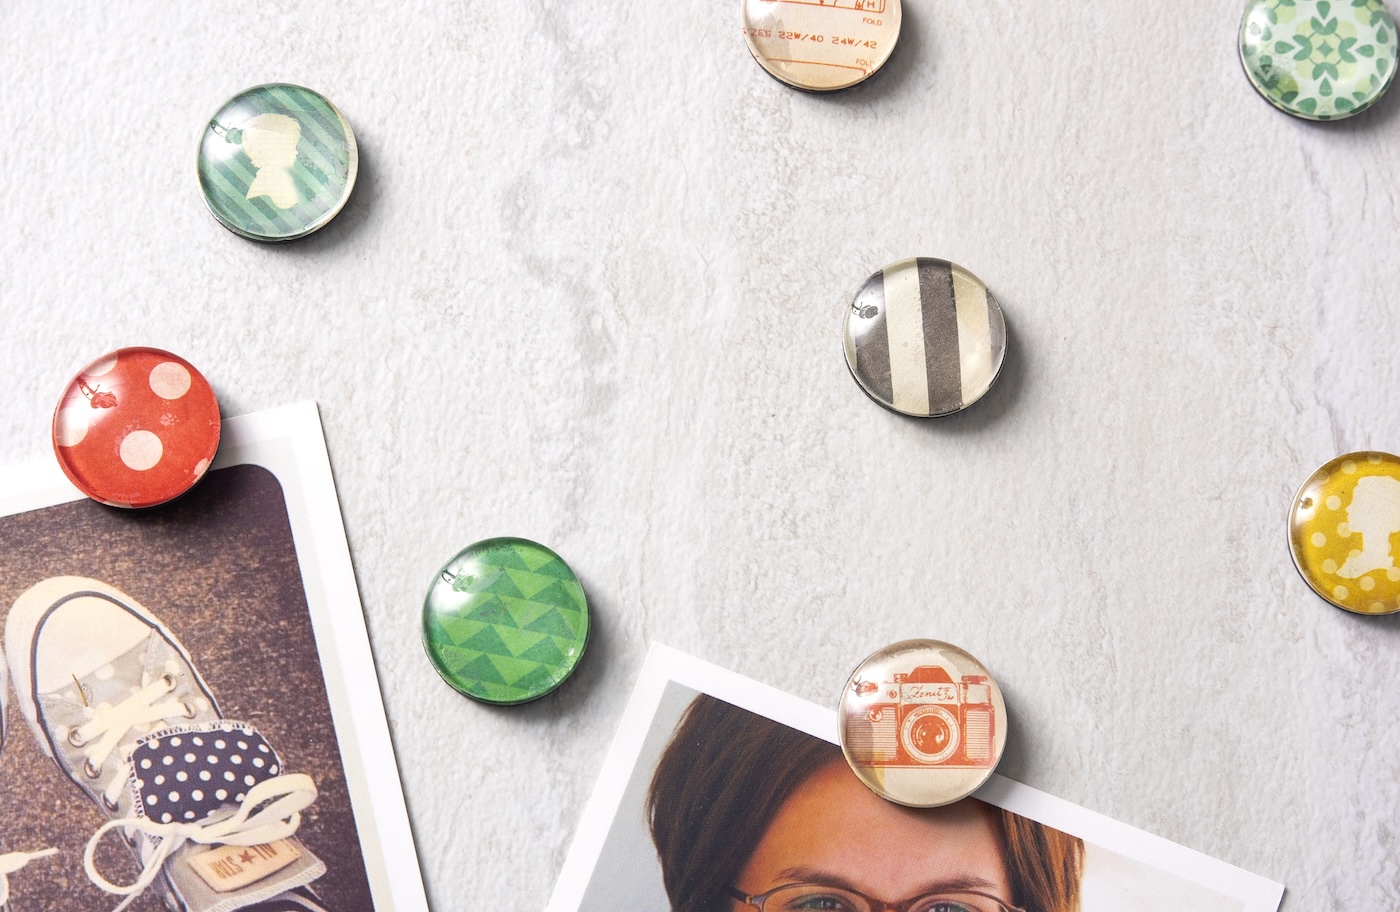
Why make your own magnets? Because store-bought ones are expensive, flimsy, and frankly — where’s the personality? These handmade beauties are strong enough to hold real stuff (yes, more than one piece of paper), and they double as mini works of art.
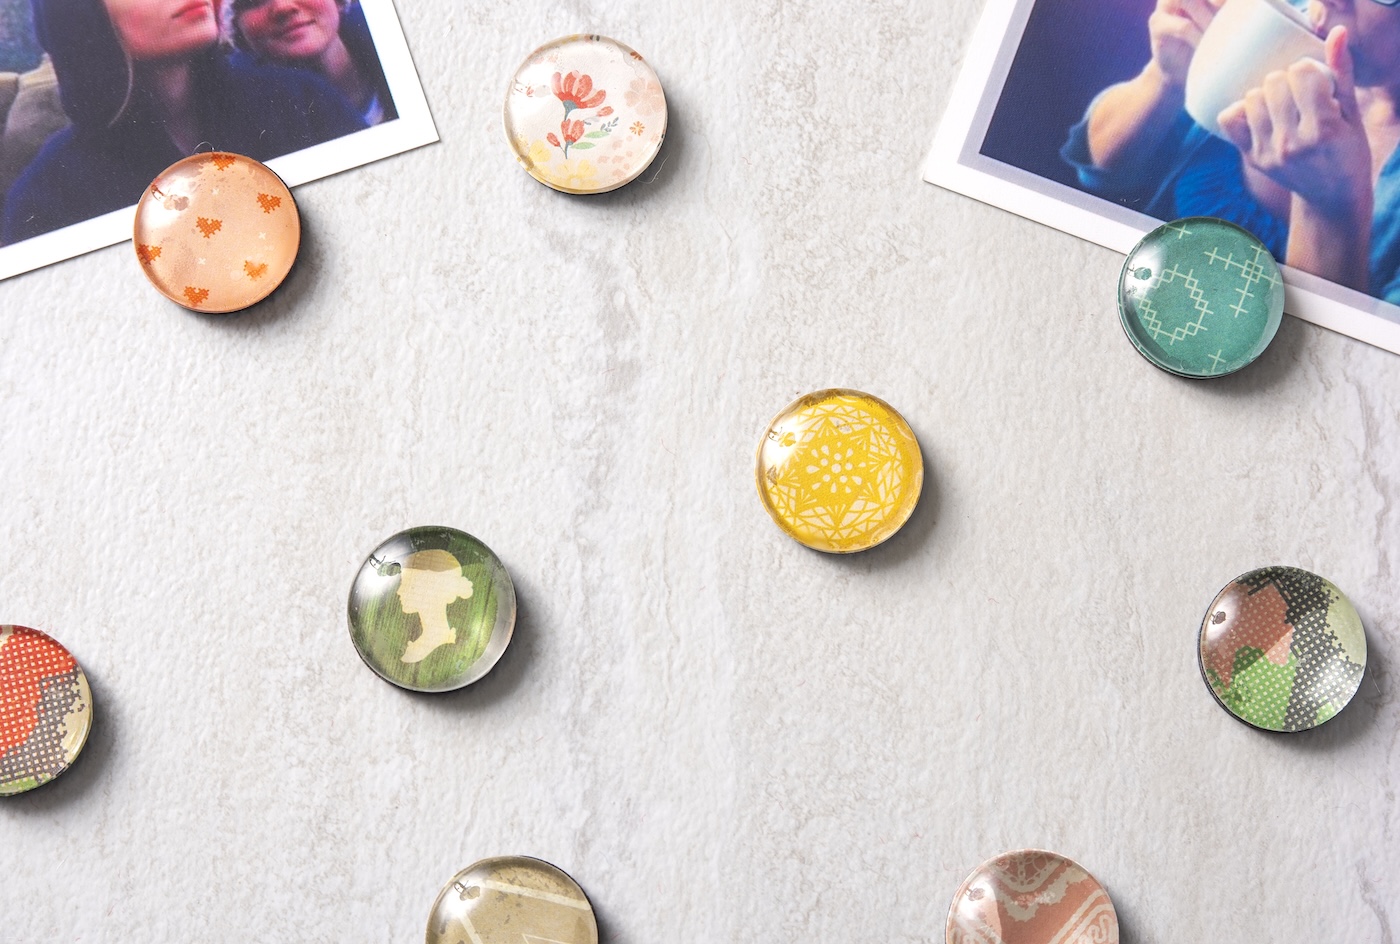
They’re great for dressing up your fridge, organizing your workspace, gifting to teachers or coworkers, or even as party favors.
Worried about the process? Don’t be!
- ✔️ Can kids make them? 100%! With a little supervision during the gluing stage, this is a great craft for all ages.
- ✔️ Will they actually stick? Yep — they’re sturdy and functional thanks to strong magnets and the right glue.
- ✔️ What kind of paper works best? Scrapbook paper is ideal, but you can also use photos, gift wrap, or even old comics for a fun twist.
- ✔️ Do I need special skills? Not a one. If you can trace a circle and brush on Mod Podge, you’re good to go.
Whether you’re making a set for your kitchen, jazzing up your home office, or crafting thoughtful handmade gifts, these Mod Podge magnets are a quick win with big payoff. Let’s get started .. . . because your fridge deserves a glow-up.
Get the printable how to card below:
Mod Podge Magnets
Learn how to make magnets with Mod Podge and paper! Fun and easy for beginners and great for gifts.
Prep Time10 minutes mins
Active Time1 hour hr 20 minutes mins
Dry Time2 hours hrs
Total Time3 hours hrs 30 minutes mins
Yield: 36 magnets
Cost: $18
-
Punch out the circles using a circle punch.
-
If you don’t have a circle punch, trace the magnets on the scrapbook paper and cut out with scissors.
-
Paint Mod Podge on the back of the marble piece and on top of the paper with a brush.
-
Gently place the scrapbook paper on top and press down. Set aside. Repeat with the remaining marbles and paper. Let dry for 20 minutes.
-
Trim the excess paper around the edges using scissors.
-
Add a dab of strong craft glue or E-6000 to the back, then firmly press on your magnet. Repeat. Let your magnets dry for several hours before using or gifting.
There are kits available on Amazon with adhesive magnets that allow you to skip one of the gluing steps. Find them here.
If you enjoyed these magnets, I’d love for you to check out these other crafts to do at home:
Bottle Cap Magnets • DIY Clipboard • Glass Photo Magnets • DIY Notebook • Glitter Mug • Make a Keychain • Mod Podge Coasters • Painted Wooden Spoons • Photo Blocks • Photo Bracelet • Photo Pillows • Travel Mug