This post and photos may contain Amazon or other affiliate links. If you purchase something through any link, I may receive a small commission at no extra charge to you. Any supplies used may be given to me free of charge, however, all projects and opinions are my own.
Did you know there is a way to test the pressure on traditional heat presses? Getting the correct heat press pressure for your project is important, especially for certain blanks and materials.
Whether you need light pressure, medium pressure, or heavy pressure for the project you’re making, I’m going to help you get the pressure just right.
IMPORTANT: This process is for traditional heat presses, not auto presses that determine the pressure themselves.
Pin
To test your heat press pressure, the only thing you need is a sheet of regular printer paper. The process is easy, and having the correct pressure will make a difference, especially with blanks and materials that require specific settings.
You can watch me walk you through the pressure setting process by pressing play on the video below.
Why is Heat Press Pressure Important?
If you’ve only worked with t-shirts and HTV, you may be wondering why heat press pressure is important.
There are some materials, like puff HTV, that require a very heavy, consistent pressure to get the right results.
If you want to get into White Toner transfers, sublimation, or other heat transfer projects, pressure is very important. Too much or not enough can result in incomplete transfers, overcooking/undercooking the inks, or overheating the adhesives, etc.
Pressure is just as important as the time and the temperature.
If you are using an auto press or a handheld press, your ability to adjust the pressure is limited, and this process will not work for determining the pressure.
How to Determine Heat Press Pressure
To determine the heat press pressure, we are going to use a piece of regular printer/copy paper. For a lot of the presses, you won’t even have to have your press turned on or plugged in.
If your press has an auto-open feature, you may need to plug in the press to engage the magnet so it stays closed.
This process is to help you recognize what light, medium, and heavy pressure feels like. You will make adjustments for every blank and material you use.
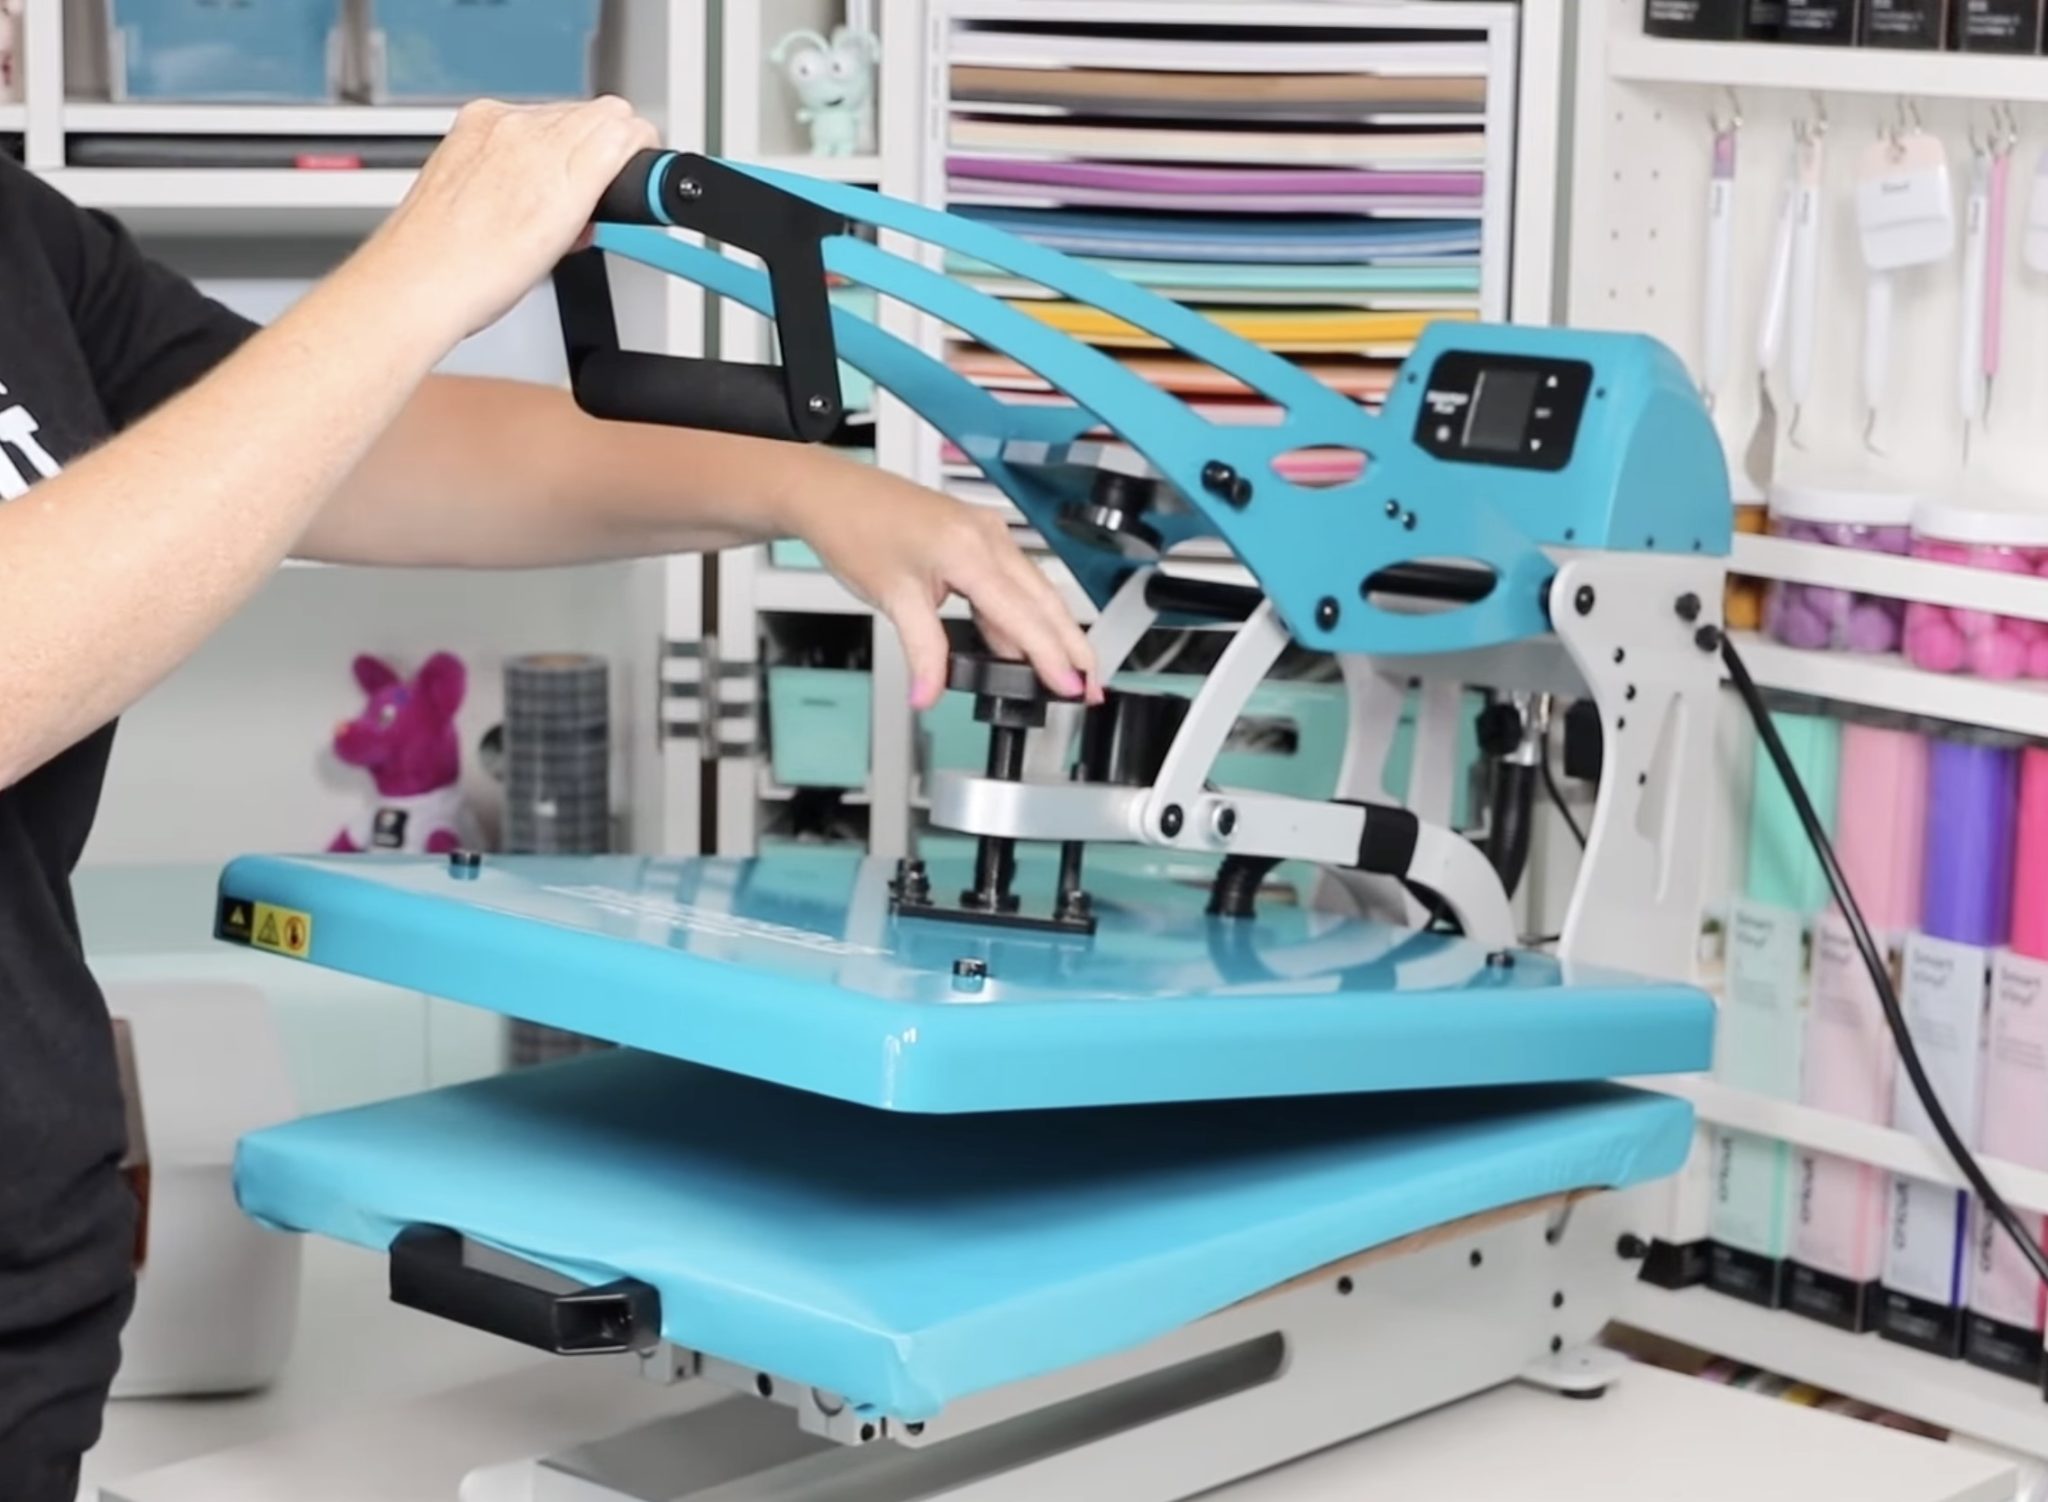
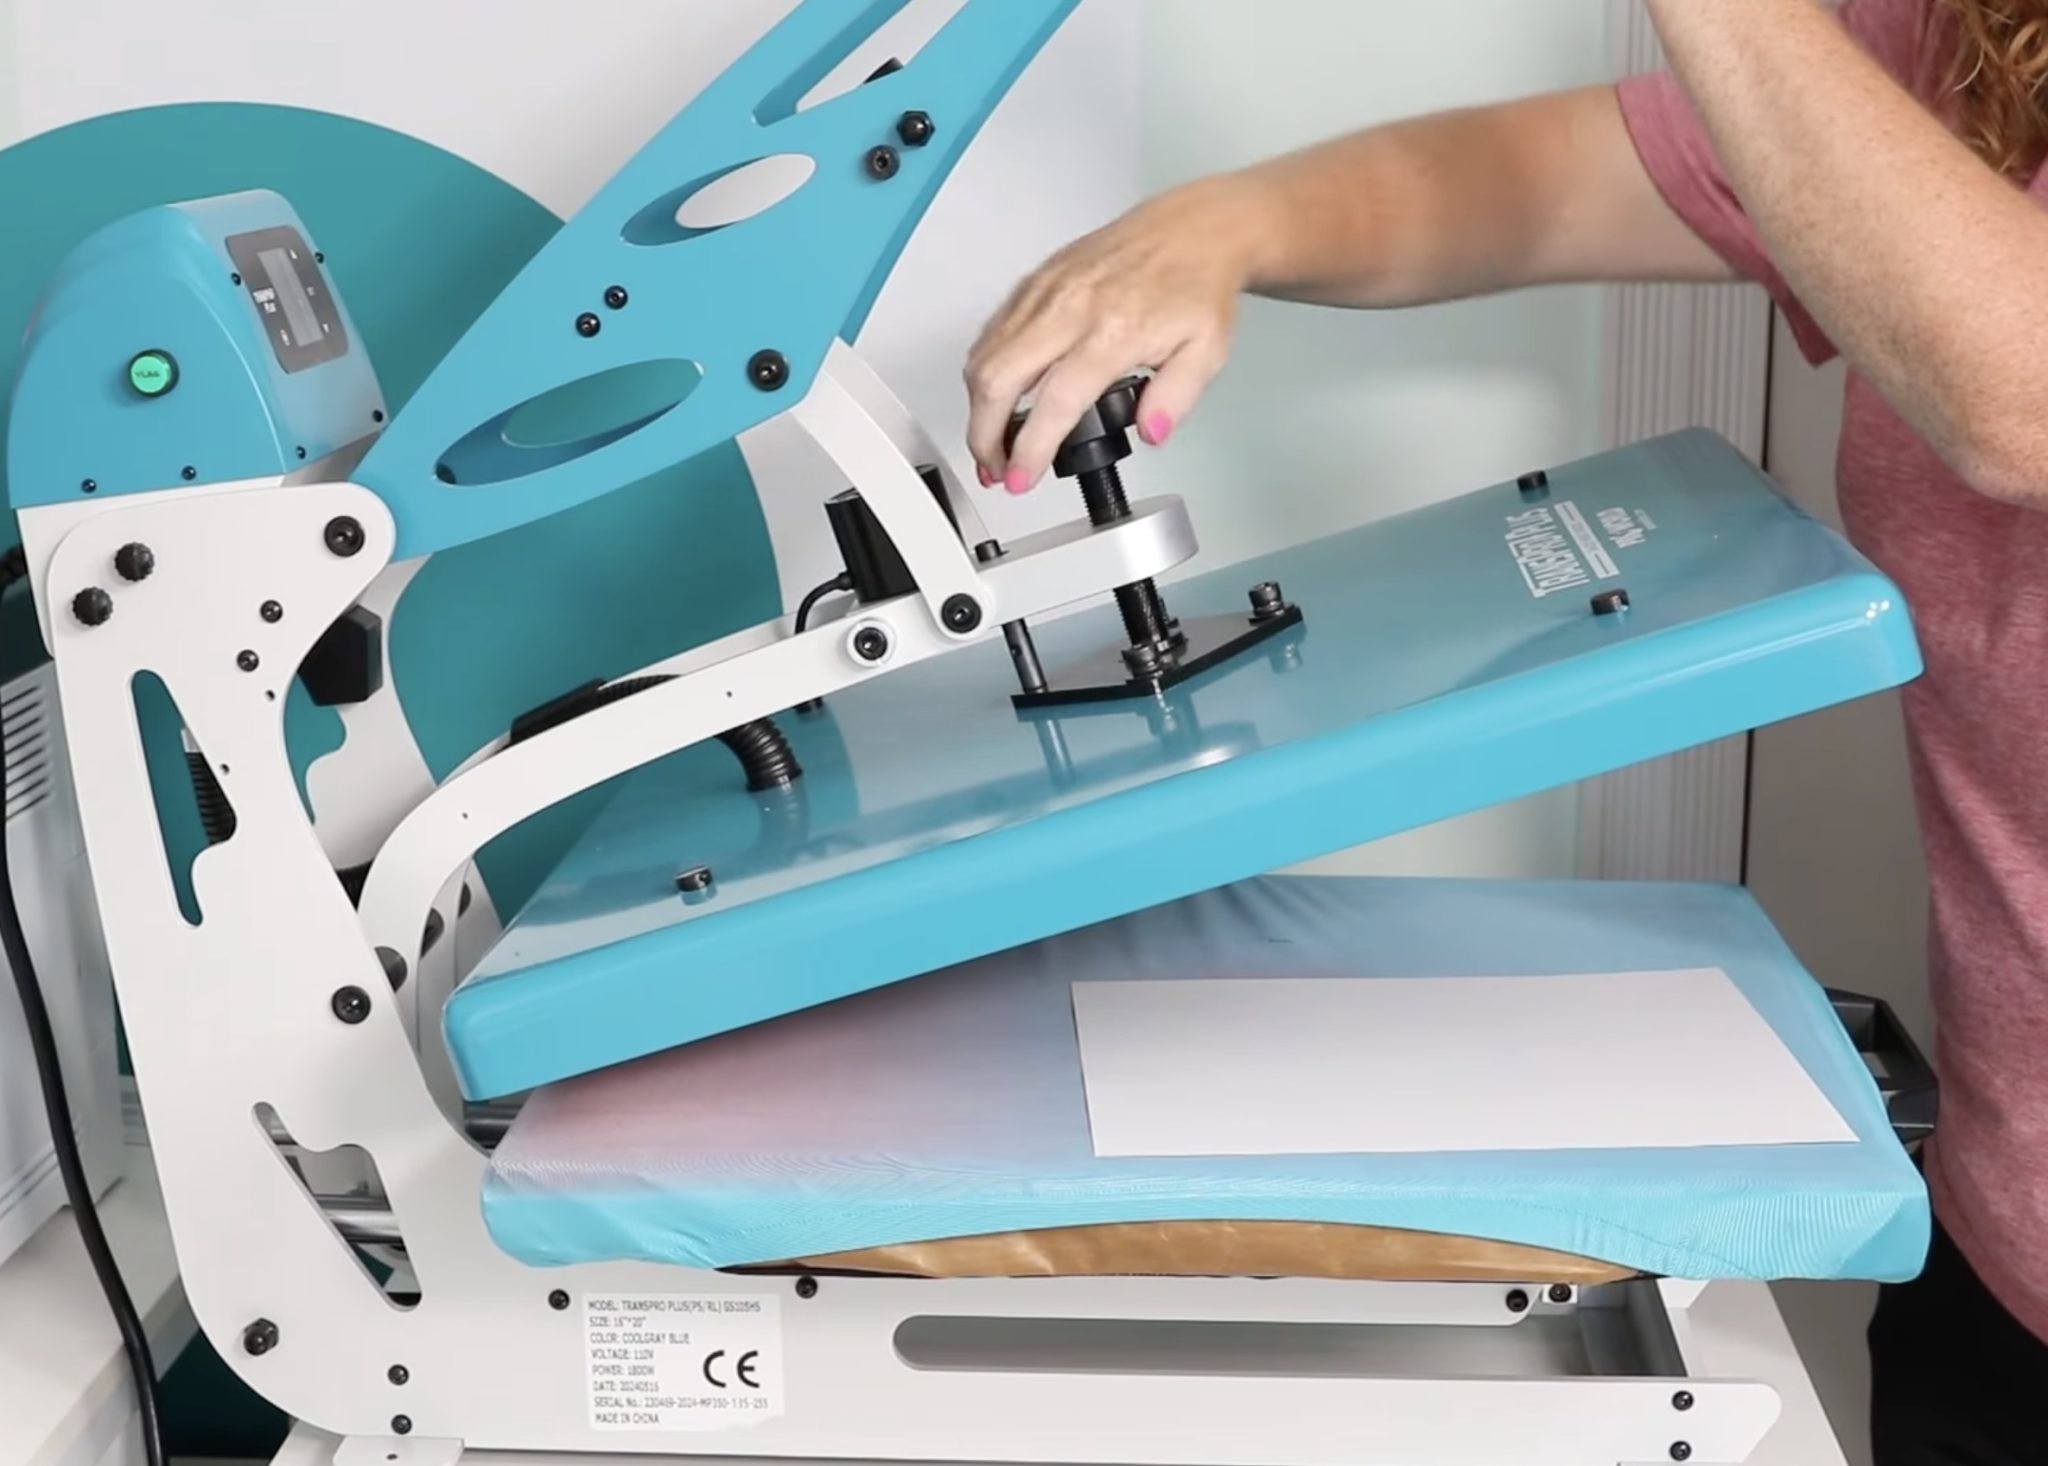
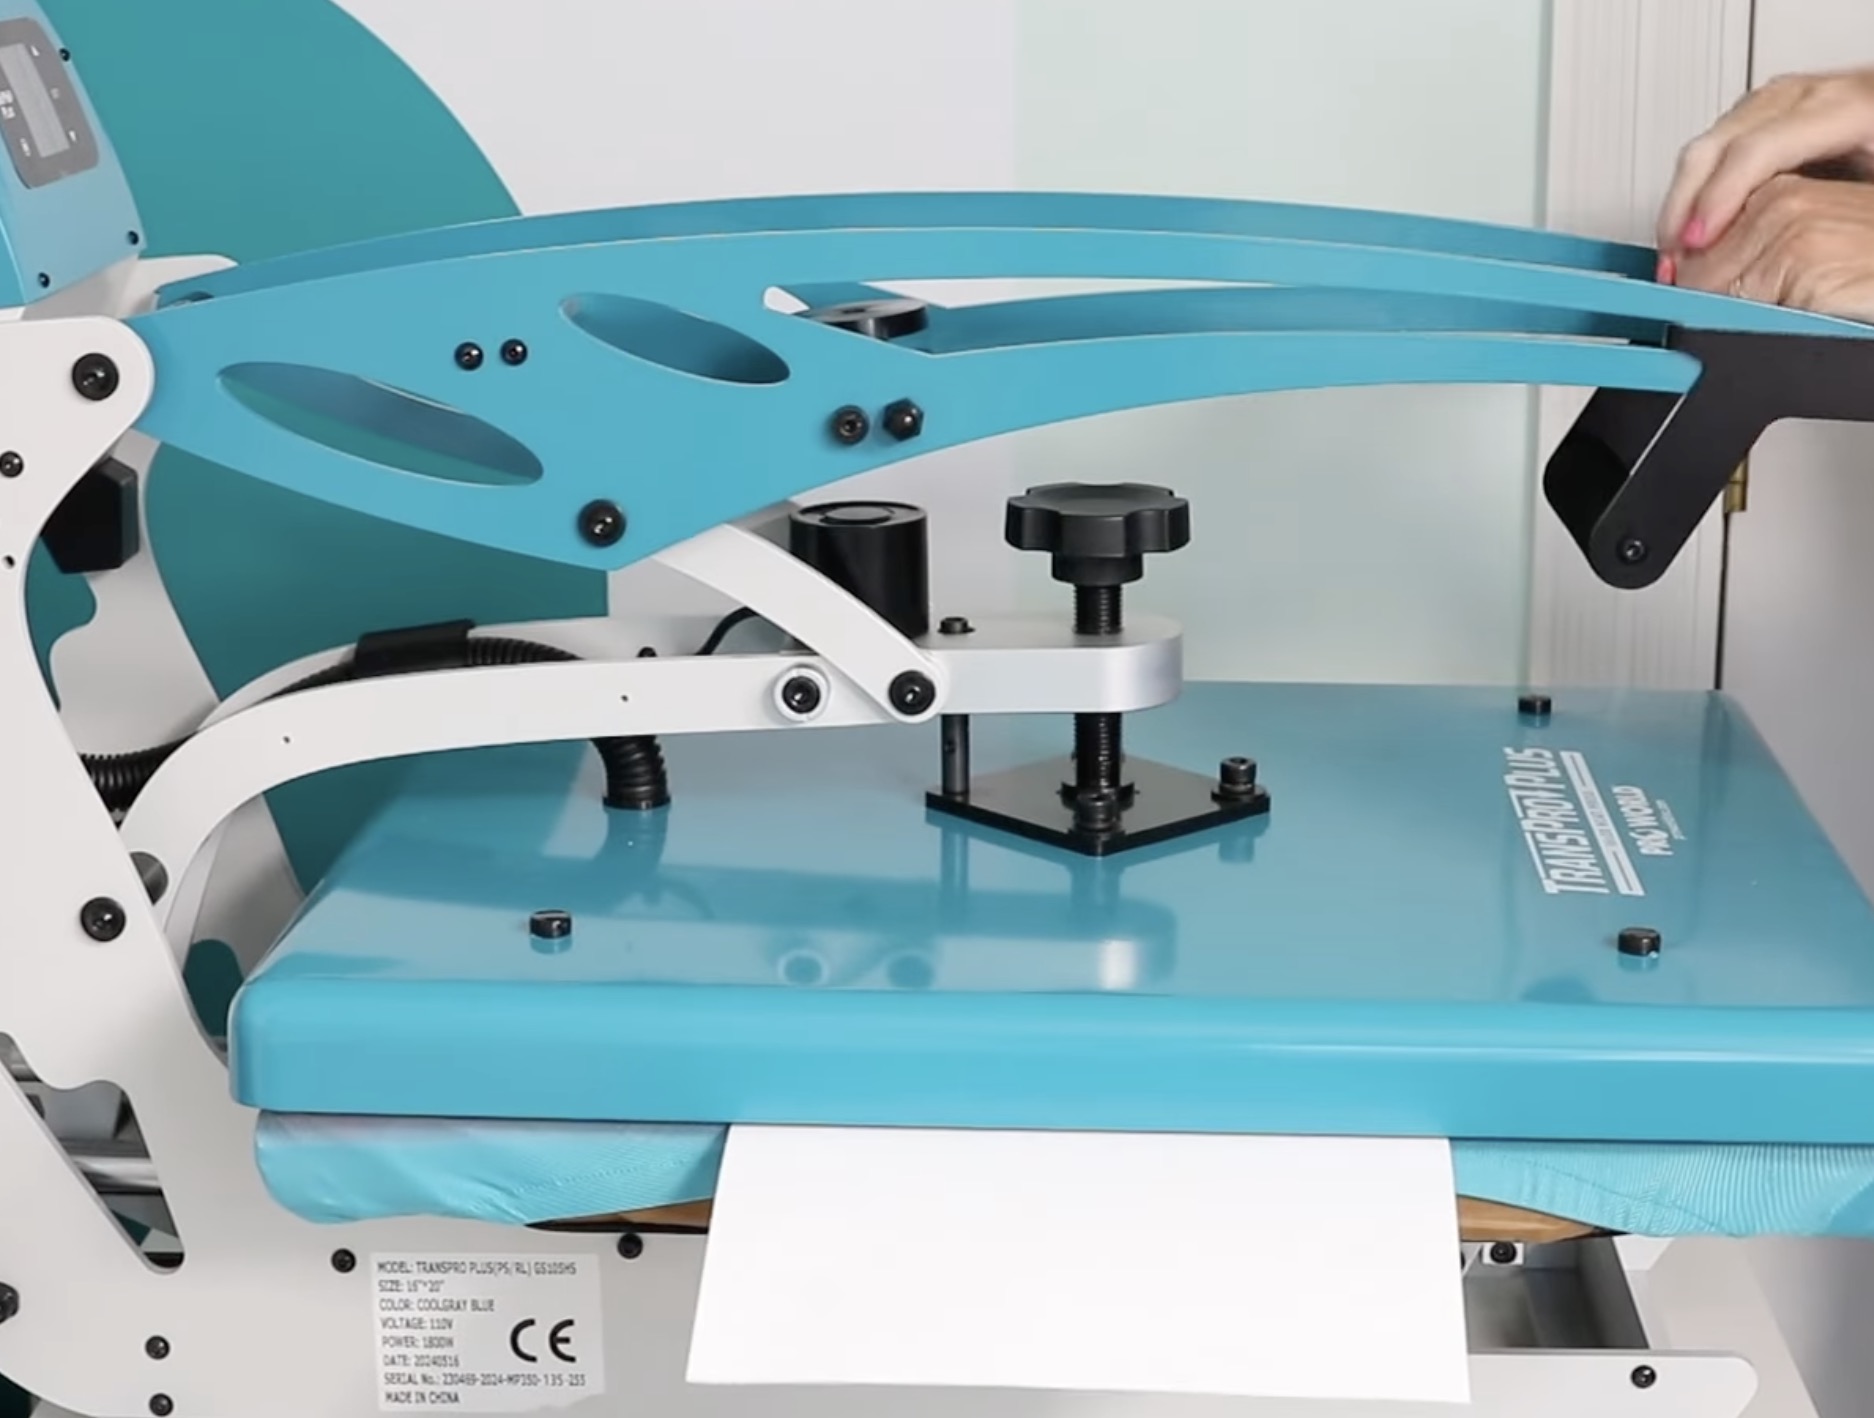
Step 1: Locate the Pressure Adjustment Knob
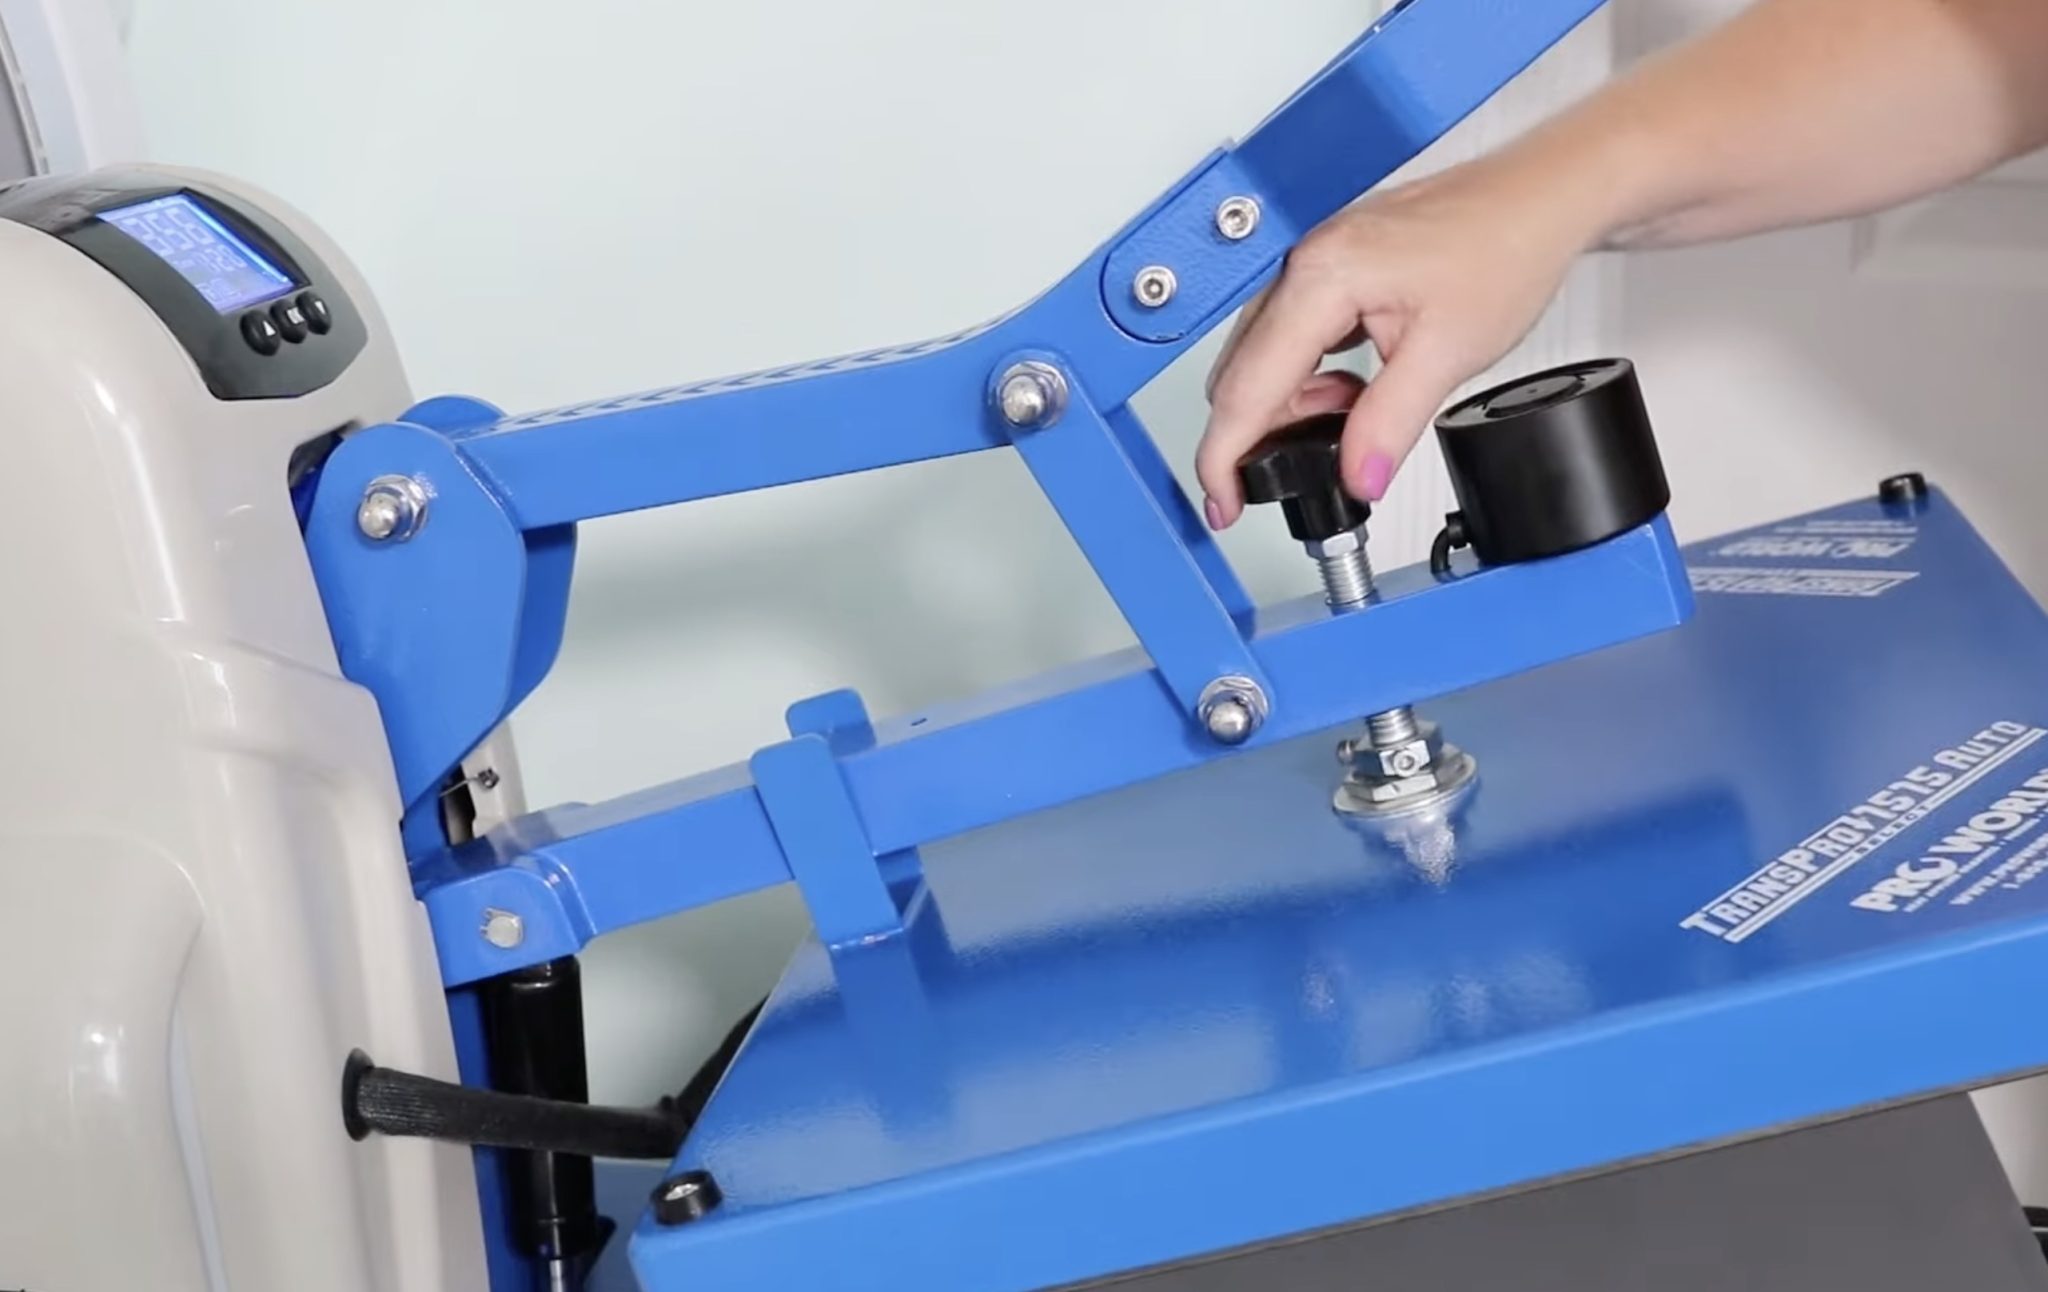
Traditional heat presses all have an adjustment knob that you can tighten and loosen to increase or decrease the pressure. On my heat presses, that knob is on the top.
Pin
Turning the knob to the right lowers the top platen, increasing the pressure. Turning the knob to the left raises the top platen, decreasing the pressure.
Pin
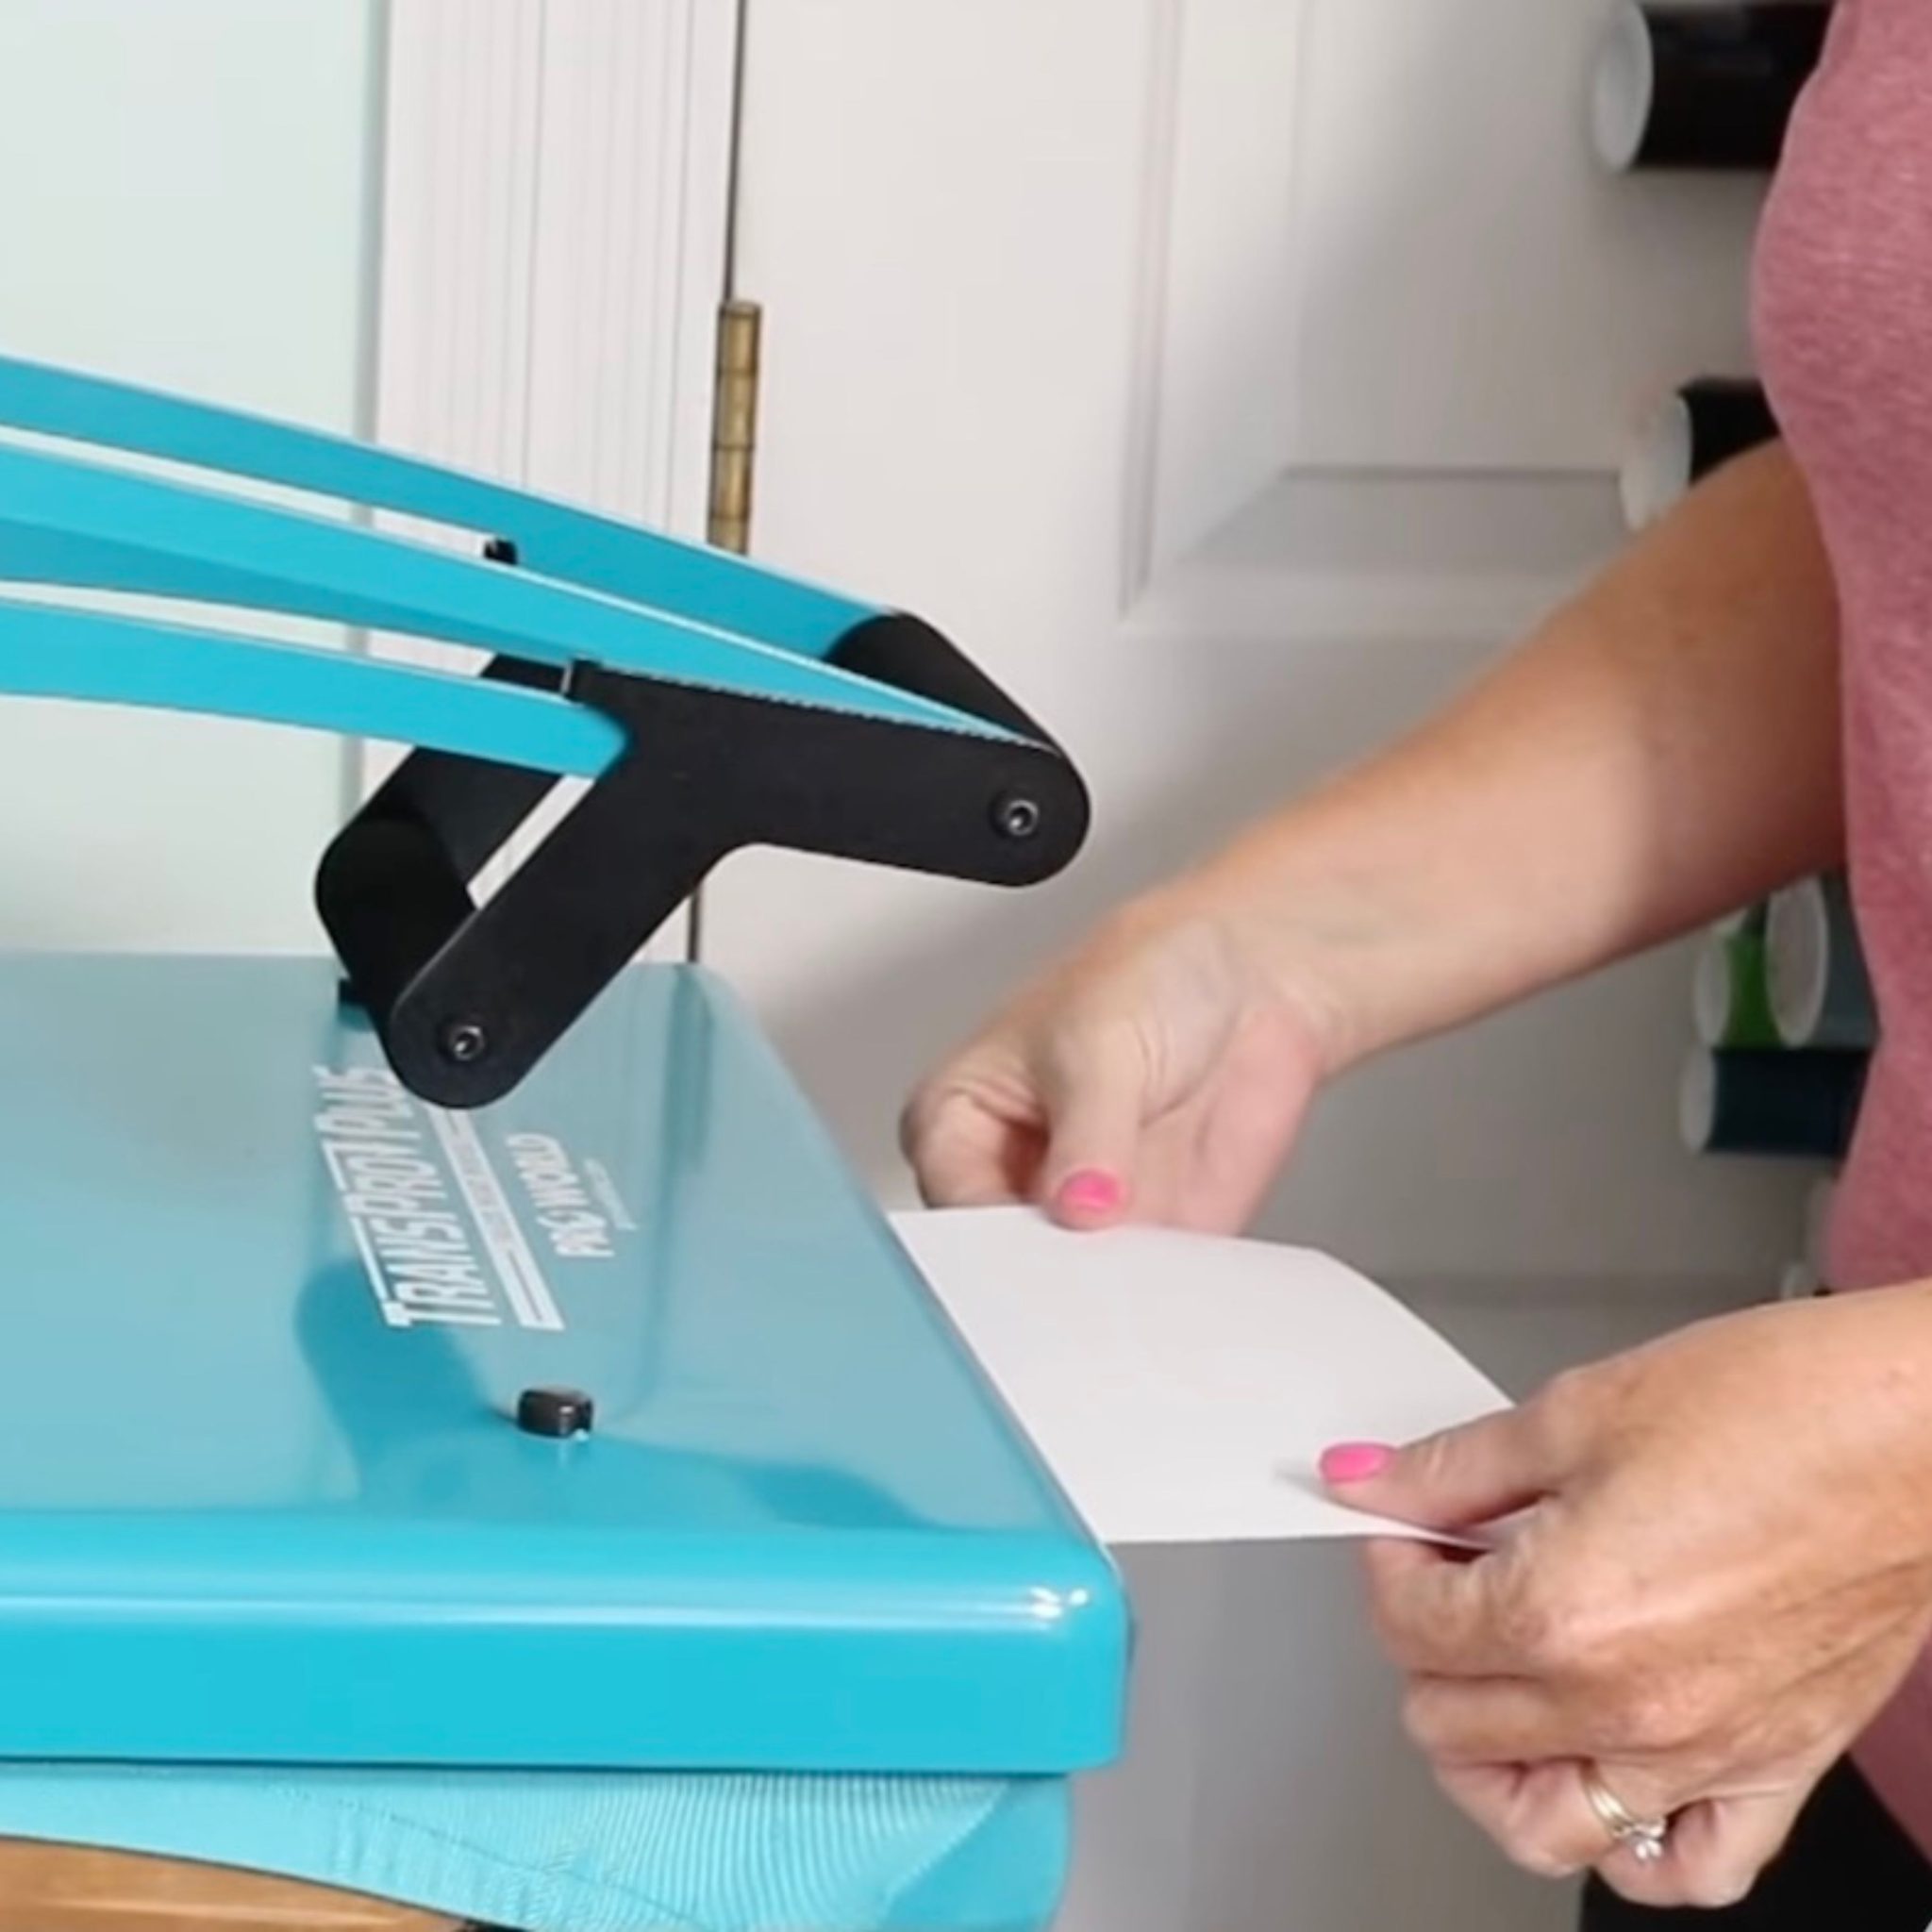
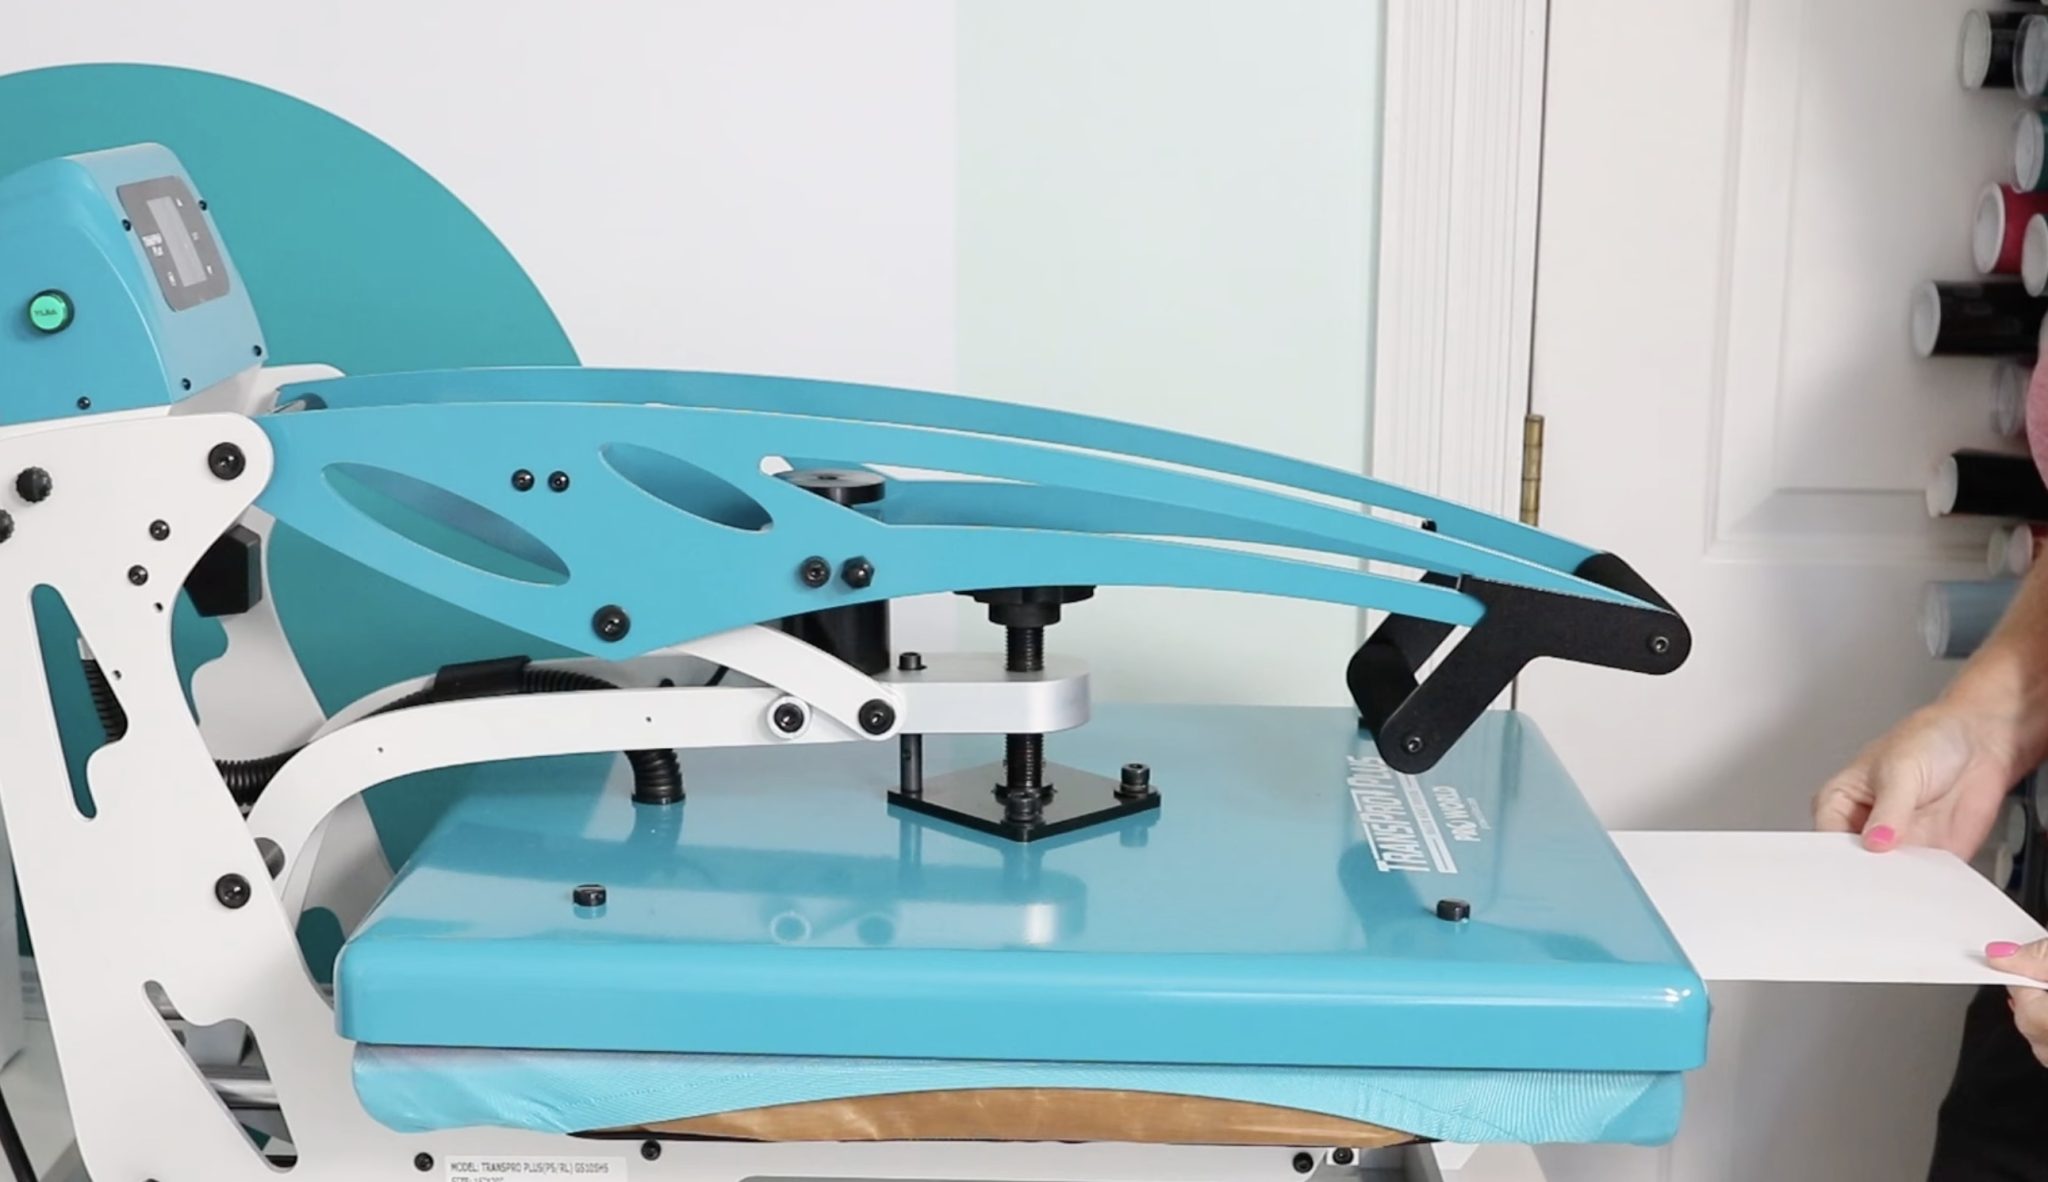
Step 2: Perform the Paper Test
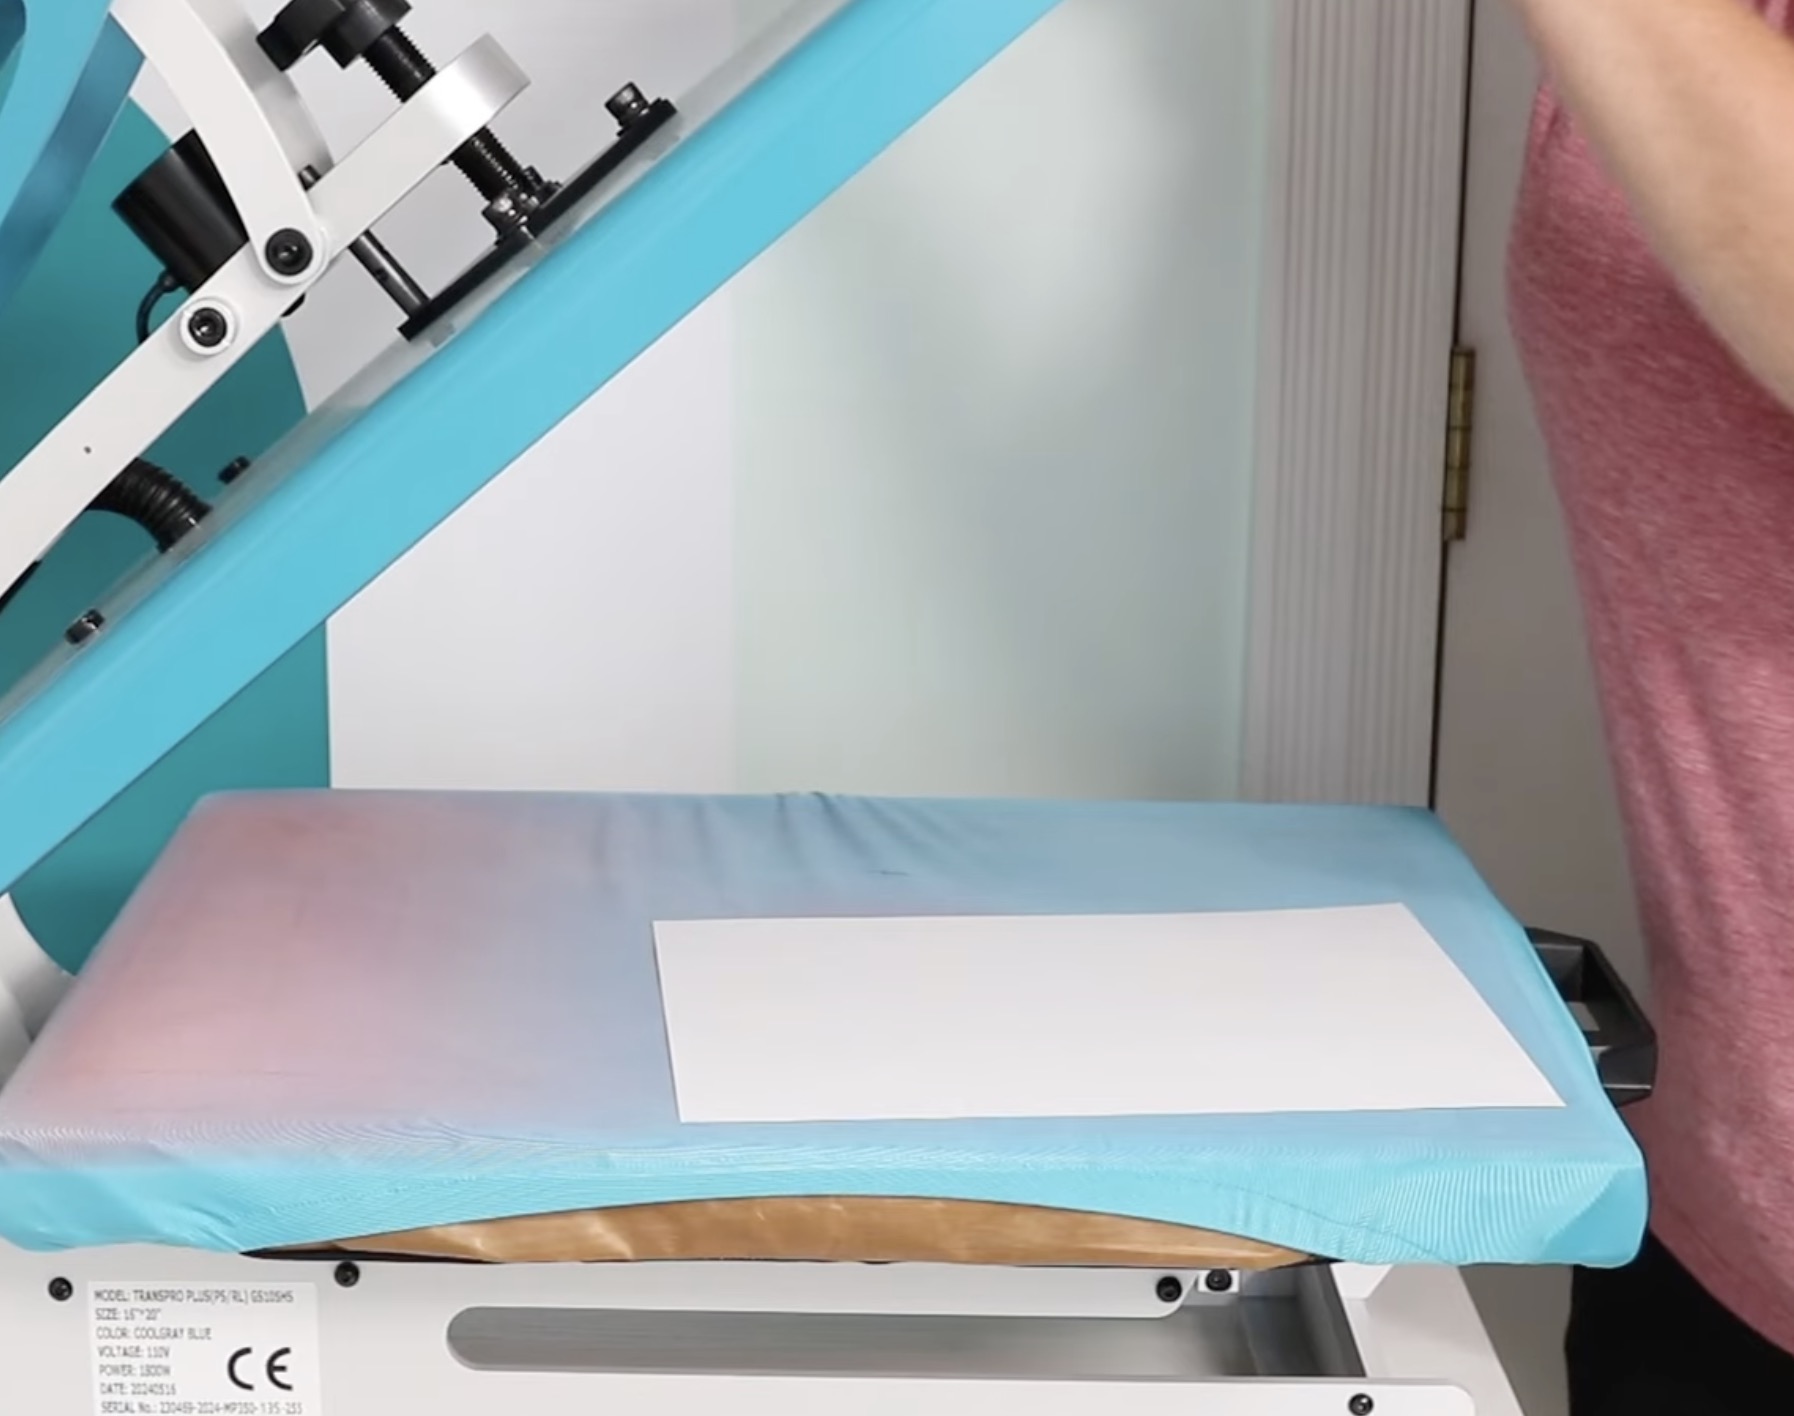
To get a feel for what heavy pressure feels like, we’re going to place a piece of paper in the front of the heat press, leaving enough hanging out so it can be pulled on.
Pin
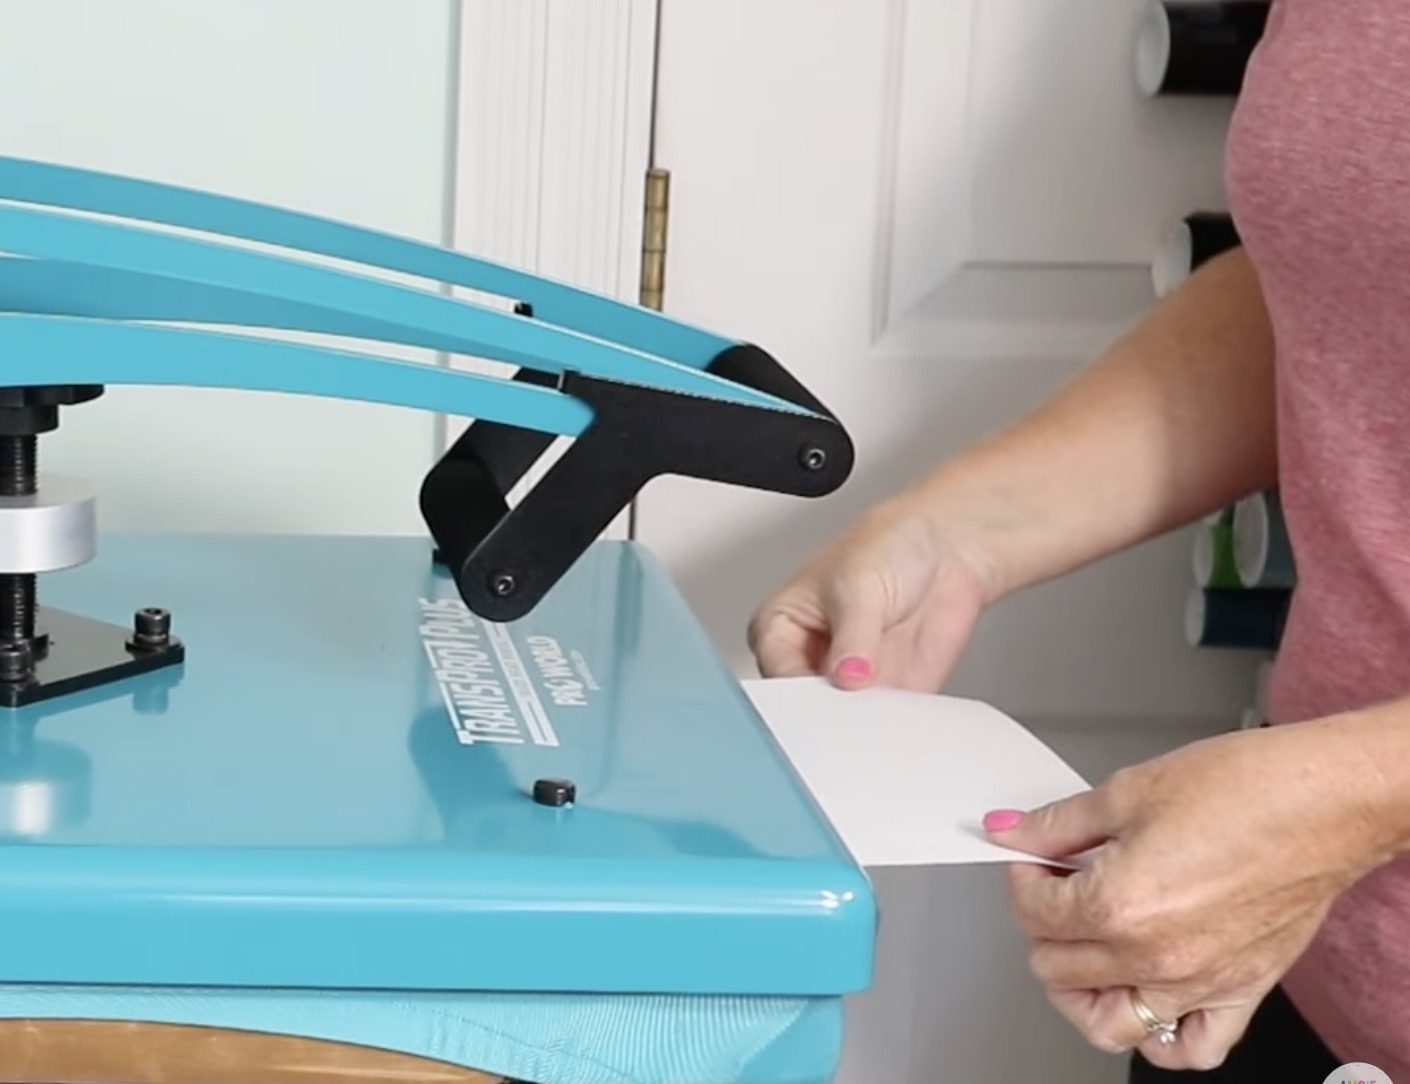
Close the press. Does it feel easy to close? Can you easily pull the paper out of the press?
Pin
If the answer is yes, this is what light pressure feels like. Anytime you can easily remove the paper and easily close the press, I would consider that light pressure.
Now we’re going to repeat this process, tightening the knob a little more each time and testing how hard the press is to close and how easy it is to remove the paper.
Pin
When you get some resistance but can remove the paper, I would call that light to medium pressure.
Pin
Repeat the process, continuing to tighten the knob until you can’t pull the paper out. When the press is hard to close, and you cannot pull the paper out, that would be what I consider medium to heavy pressure.
Pin
When you can’t remove the paper, and the press is very hard to close and very hard to open, that is what I would consider heavy pressure.
Remember, all of this testing is for a thin piece of paper. When you have thicker materials inside, you won’t have to tighten the press this much.
This process is to help you recognize how your heat press feels at light pressure, medium pressure, and heavy pressure.
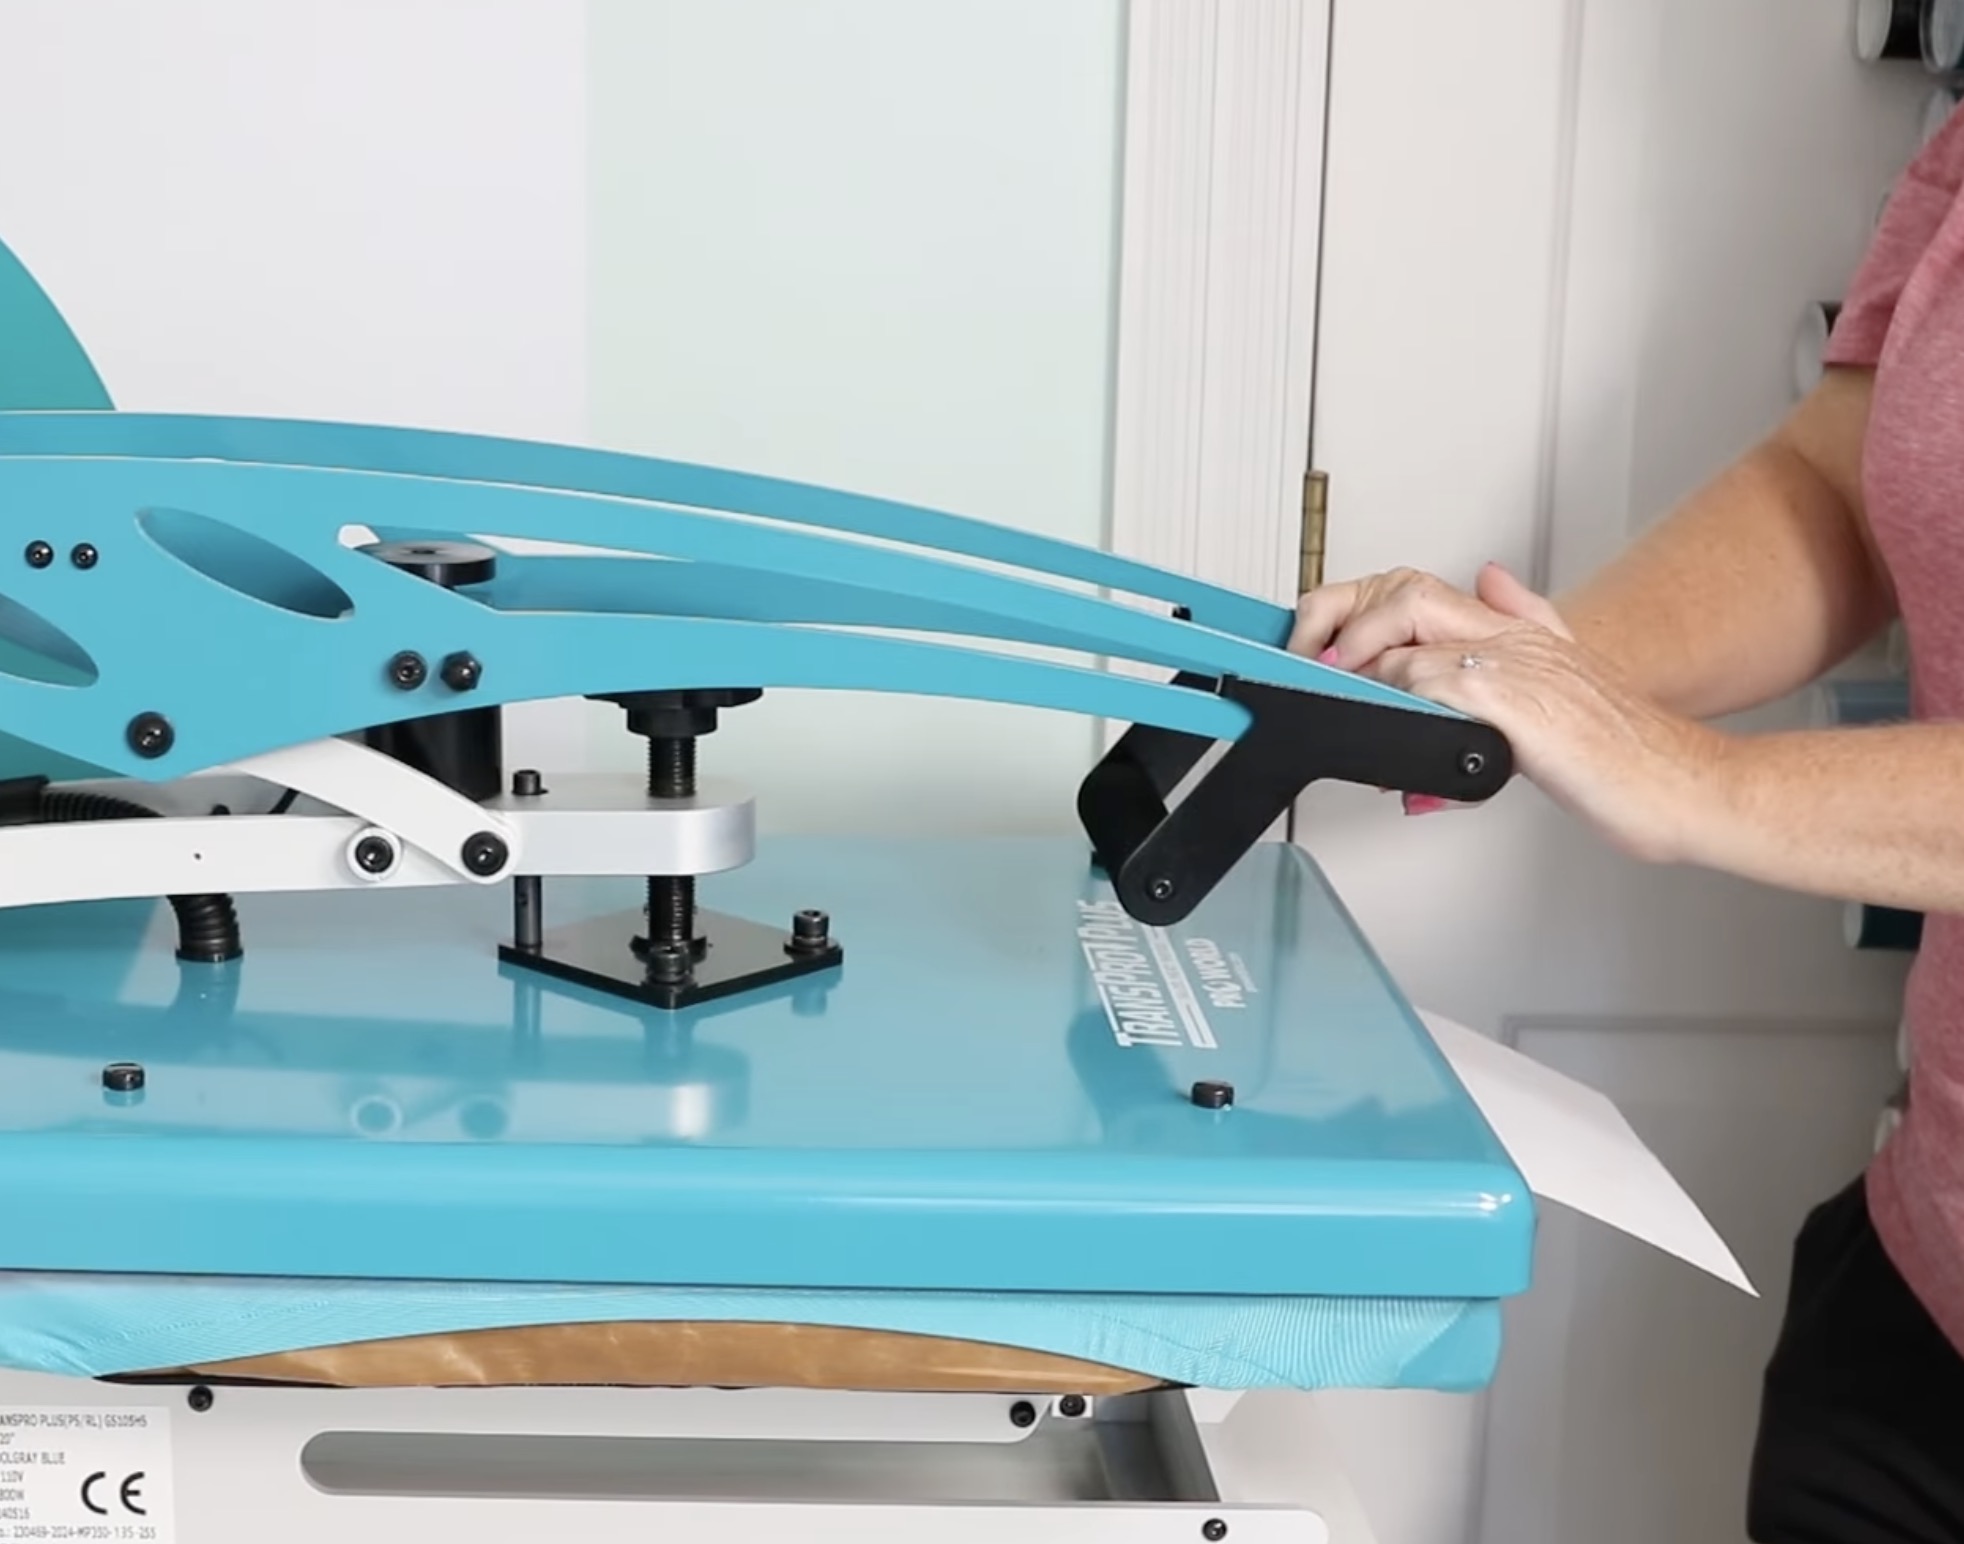
Step 3: Paper Test on the Side
Now that we have heavy pressure applied from the front, I’m going to do the same test from the side.
I want to make sure that no matter where my project is inside the heat press, it’s getting consistent pressure.
With the heat press pressure high enough that I can’t pull the paper out from the front, I placed the paper in the side of my press, hanging out so I could pull on it.
Pin
If the paper pulls out from the side and not the front, you’ll want to tighten the knob just a little bit more.
When I can’t remove the paper from the front or the sides, and the press is very hard to open and close, we are at heavy pressure.
If I loosen the knob one full turn, I’m now at medium pressure. With the paper back in the heat press, I should be able to remove it, but it would be difficult.
If I loosen the press another full turn and close the press, it should close very easily, and that is what light pressure feels like.
How to Use the Heat Press Pressure Settings
Now that I know what my heat press feels like when I open and close it at each of the different pressure settings, I can follow the recommended setting for the material or blank I am using.
If I am using HTV that calls for medium pressure, I can adjust my press with the blank inside until I have medium pressure.
If a blank I’m using calls for heavy pressure, I know what heavy pressure feels like, so I can place the blank inside and adjust the pressure until it feels heavy with that blank.
Knowing the pressure is the first step to successful heat transfers. The next step is knowing when to use them. Make sure to check your blanks and materials and see what is recommended by the brands.
Following these steps will ensure you get the best results the first time, which will eliminate wasted materials and blanks.
What if I have a Different Heat Press?
The tips I shared today work with traditional heat presses. If you own a heat press that sets the pressure itself, these steps won’t work because the pressure is not adjustable.
For manual tumbler presses, I didn’t have success with the paper test. What worked better for me was going by feel.
If the press is very hard to open and close with the tumbler in it, you’re applying heavy pressure. If it’s easy, or maybe feels like it isn’t closing all the way, you are at a lighter pressure.
Are You Ready to Test Your Heat Press Pressure?
I hope these tips and tricks help you find the right pressure for your project.
The more you use your heat press and feel the difference between light and heavy pressure, the easier it’s going to be in the future to set the pressure correctly for your project.
I hope I’ve answered any questions you have about setting your heat press pressure. If you have any additional questions, leave them in the comments, and I’ll be happy to answer them for you.
Learn how to use resin in crafts! Resin makes the coolest projects; get tips and tricks as well as frequently asked questions for beginners. This is y [...]
Looking for a festive activity that won’t break the bank? Try one of these paper plate Christmas crafts kids will definitely enjoy! No need to spend a [...]
Card Instructions Now let's turn those digital papers into a finished card. Trim the four printed rectangles apart. Cut a sheet of 8.5 x 11 white card [...]
Learn to make your own DIY tile coasters with this simple guide. Perfect for beginners, using Mod Podge, photos, and resin for a custom look! Skills R [...]
Published: Feb 12, 2023 · Modified: Nov 18, 2025 by Shelly · This post may contain affiliate links · 2 Comments Fun February Coloring Pages The fabulo [...]
I’m so excited to share my hand drawn Grinch Coloring Pages with you. This free coloring page captures the Grinch and his tiny heart that grows when h [...]
One of the biggest shifts we have made over the past few years in our own home is being more conscious of our overall waste and ways to reduce plastic [...]
We use cookies on our website to give you the most relevant experience by remembering your preferences and repeat visits. By clicking “Accept”, you consent to the use of ALL the cookies.
This website uses cookies to improve your experience while you navigate through the website. Out of these, the cookies that are categorized as necessary are stored on your browser as they are essential for the working of basic functionalities of the website. We also use third-party cookies that help us analyze and understand how you use this website. These cookies will be stored in your browser only with your consent. You also have the option to opt-out of these cookies. But opting out of some of these cookies may affect your browsing experience.
Necessary cookies are absolutely essential for the website to function properly. These cookies ensure basic functionalities and security features of the website, anonymously.
Cookie
Duration
Description
cookielawinfo-checbox-analytics
11 months
This cookie is set by GDPR Cookie Consent plugin. The cookie is used to store the user consent for the cookies in the category "Analytics".
cookielawinfo-checbox-functional
11 months
The cookie is set by GDPR cookie consent to record the user consent for the cookies in the category "Functional".
cookielawinfo-checbox-others
11 months
This cookie is set by GDPR Cookie Consent plugin. The cookie is used to store the user consent for the cookies in the category "Other.
cookielawinfo-checkbox-necessary
11 months
This cookie is set by GDPR Cookie Consent plugin. The cookies is used to store the user consent for the cookies in the category "Necessary".
cookielawinfo-checkbox-performance
11 months
This cookie is set by GDPR Cookie Consent plugin. The cookie is used to store the user consent for the cookies in the category "Performance".
viewed_cookie_policy
11 months
The cookie is set by the GDPR Cookie Consent plugin and is used to store whether or not user has consented to the use of cookies. It does not store any personal data.
Functional cookies help to perform certain functionalities like sharing the content of the website on social media platforms, collect feedbacks, and other third-party features.
Performance cookies are used to understand and analyze the key performance indexes of the website which helps in delivering a better user experience for the visitors.
Analytical cookies are used to understand how visitors interact with the website. These cookies help provide information on metrics the number of visitors, bounce rate, traffic source, etc.
Advertisement cookies are used to provide visitors with relevant ads and marketing campaigns. These cookies track visitors across websites and collect information to provide customized ads.