Cricut Design Space
I’m using Cricut Design Space for this project. If you’re using another cutting program, your screens may look a little different, but the overall process is the same.
The finished card fits an extra A6 envelope and measures about 4.5 x 6.25 inches when folded.
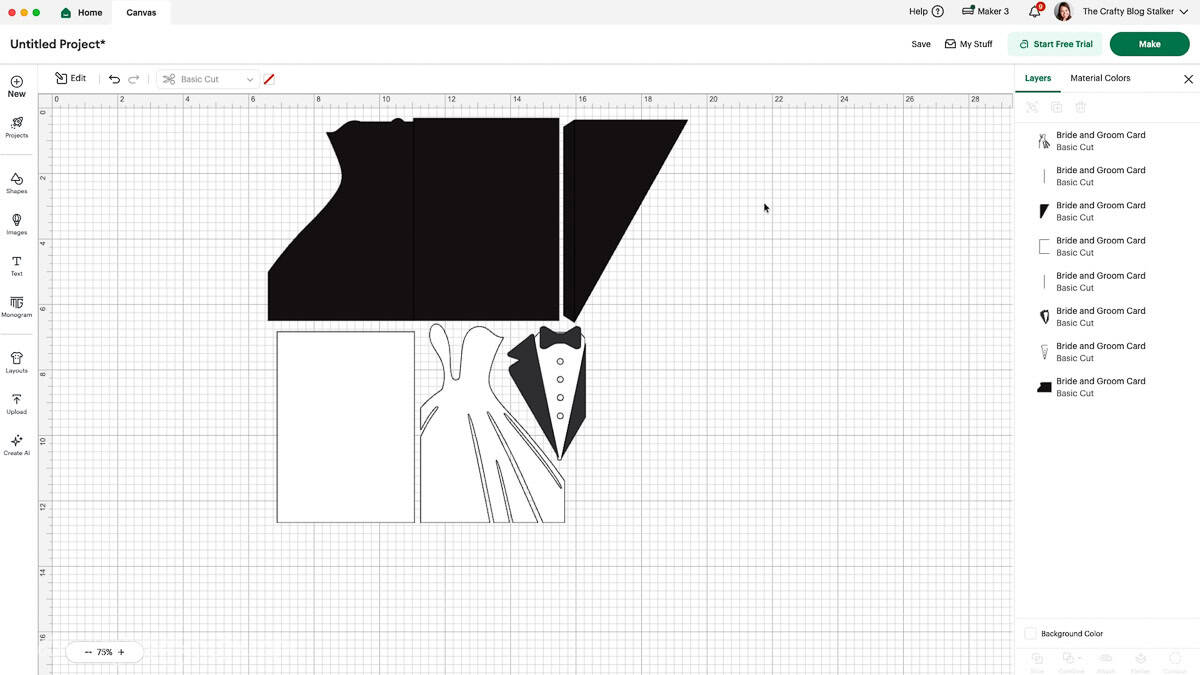
Start by uploading the SVG file into Cricut Design Space and adding it to your canvas.
When the design loads, all lines will appear as cut lines.
Two of those lines actually need to be changed to score lines so the card folds properly.
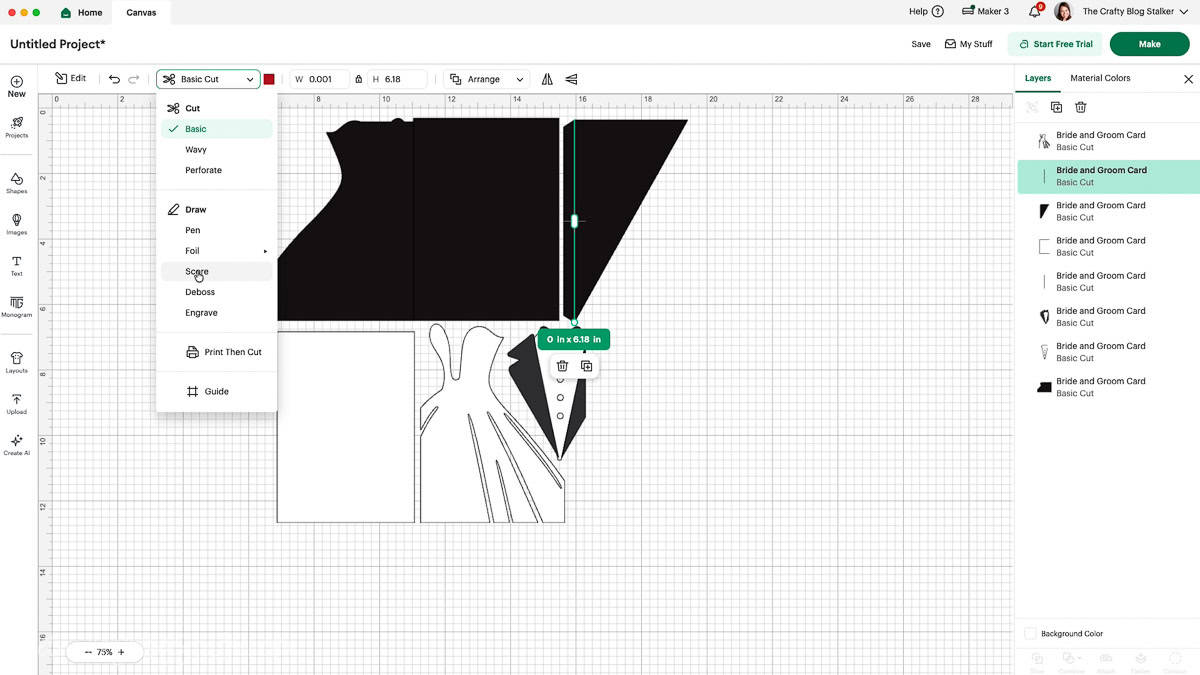
Because the card base is black, those lines can be a little hard to see on the canvas. The easiest way to find them is in the Layers panel.
Look for the two vertical lines, select them, and change them from Cut to Score. Then attach them to the card base so the Cricut machine knows exactly where to score.
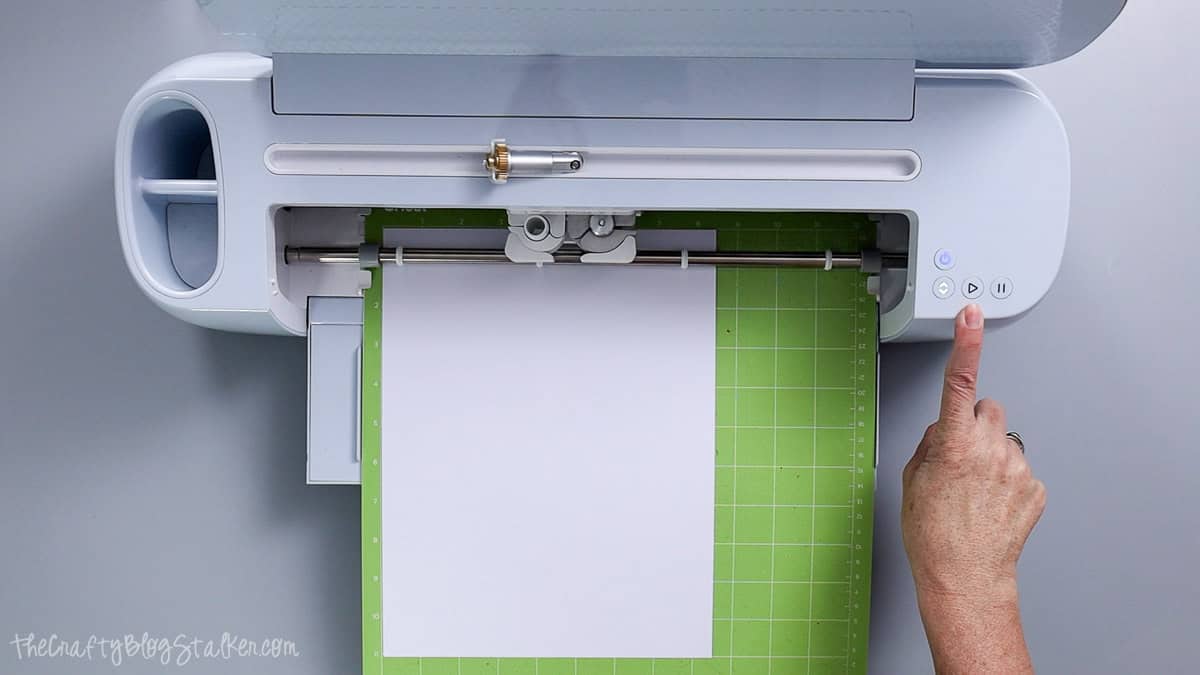
Once everything is ready, click Make.
Check the mat preview screen to ensure the pieces look correct, then proceed to the material settings.
Select Medium Cardstock as your material. Cricut Design Space will prompt you when to load the scoring wheel or scoring stylus before cutting.
Let the Cricut machine cut all of the pieces from your cardstock.