Graywash and Whitewash
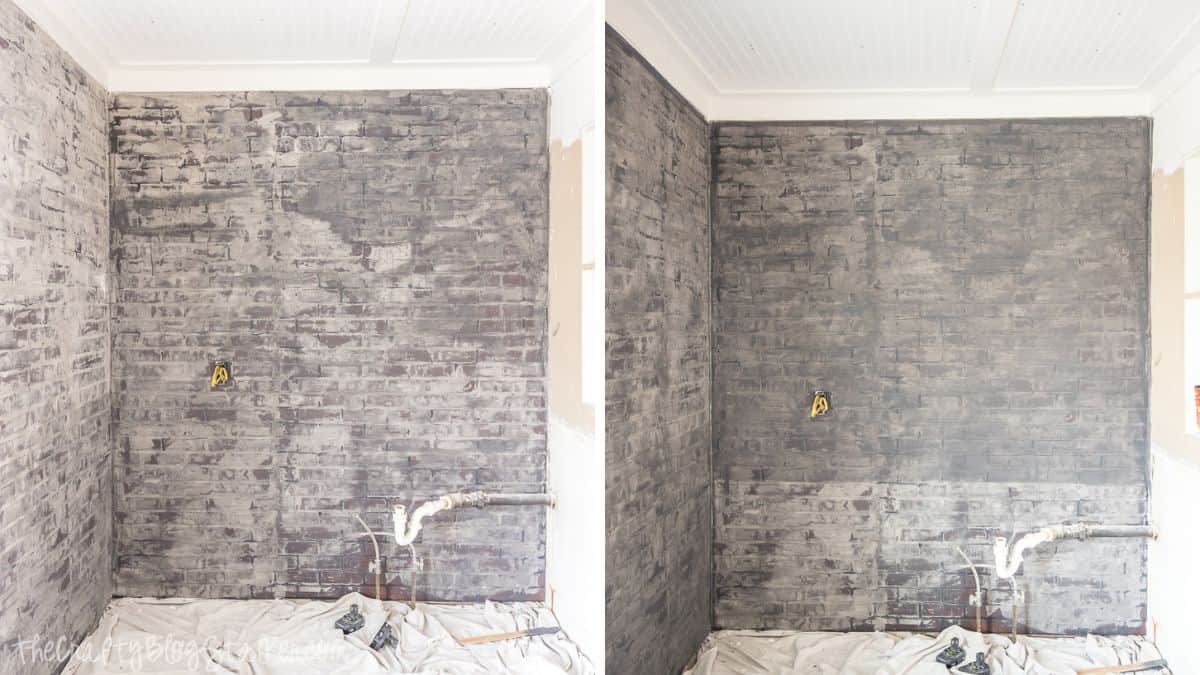
Once all the sheetrock compound had dried, I did a simple gray wash using a watered-down paint mixture. (
I mixed about 1 part Behr Cracker Pepper paint to 6 parts water, stirred it thoroughly, applied it with a paintbrush, and immediately wiped it down with a lint-free rag.
When finished, I had applied 2 coats of the gray wash. You can see the differences below.
However, I’d probably suggest doing just 1 coat, since I ended up dry-brushing over the second coat anyway.
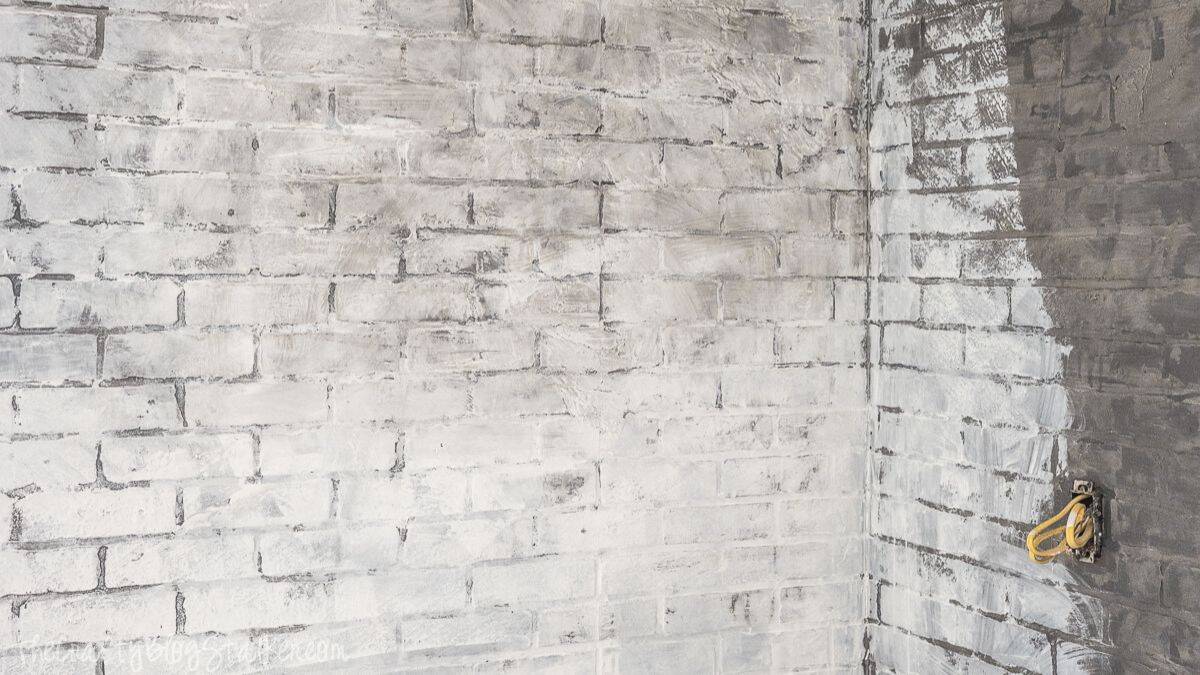
Once the graywash dried, I used a small paint roller to apply a watered-down white wash.
I used the same ratio of Reserved White paint to water. I just mixed it up in a paint tray and kinda sloshed it on there.
Again, this is very artistic, so there’s no exact method.
Once I rolled the paint on, I took a lint-free rag and wiped it all together so there were no paint drips. You can also use your paint scraper to distress the paint to get a more aged look.
Ok, once I applied the whitewash, I wasn’t super happy with how it looked, so I started dipping my rag back into the gray wash and rubbing it around. You can see some of that progress in the photo below.
After rubbing the gray wash back over the top, I just wasn’t happy. It looked too messy and had a bluish tint.
Had this been on real brick, I think it would have worked a little more to my advantage. The brick dimensions were getting a bit lost since I was working with faux brick panels.