Apply the Vinyl Decal
Before applying the decal, clean the surface well. I like using a little isopropyl alcohol because it removes grease and dries quickly.
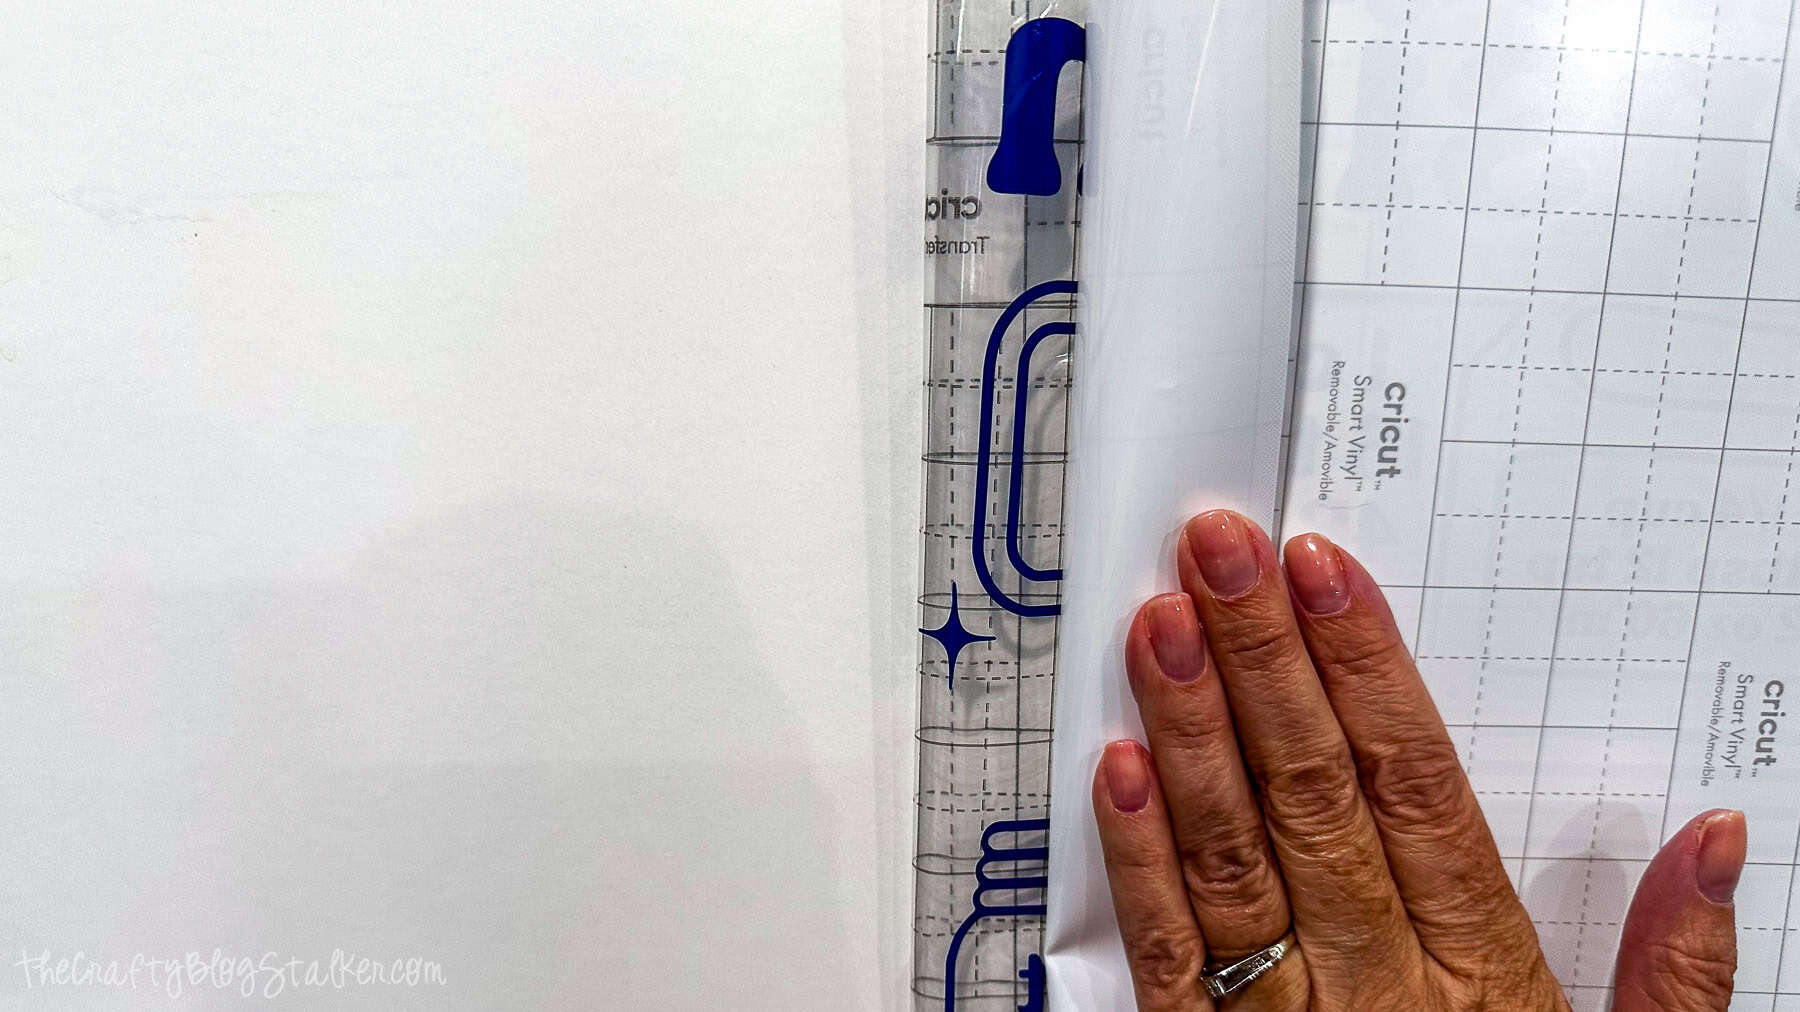
Peel back a small section of the paper liner to position the decal where you want it.
If you want to be extra precise, you can use a level to make sure it’s straight. I used the bottom of the letters as my guide since my transfer tape wasn’t perfectly lined up.
Starting on one side, slowly pull the paper liner away while smoothing the vinyl onto the cabinet door with a scraper tool.
Work gradually so the decal sticks to the surface instead of staying on the liner.
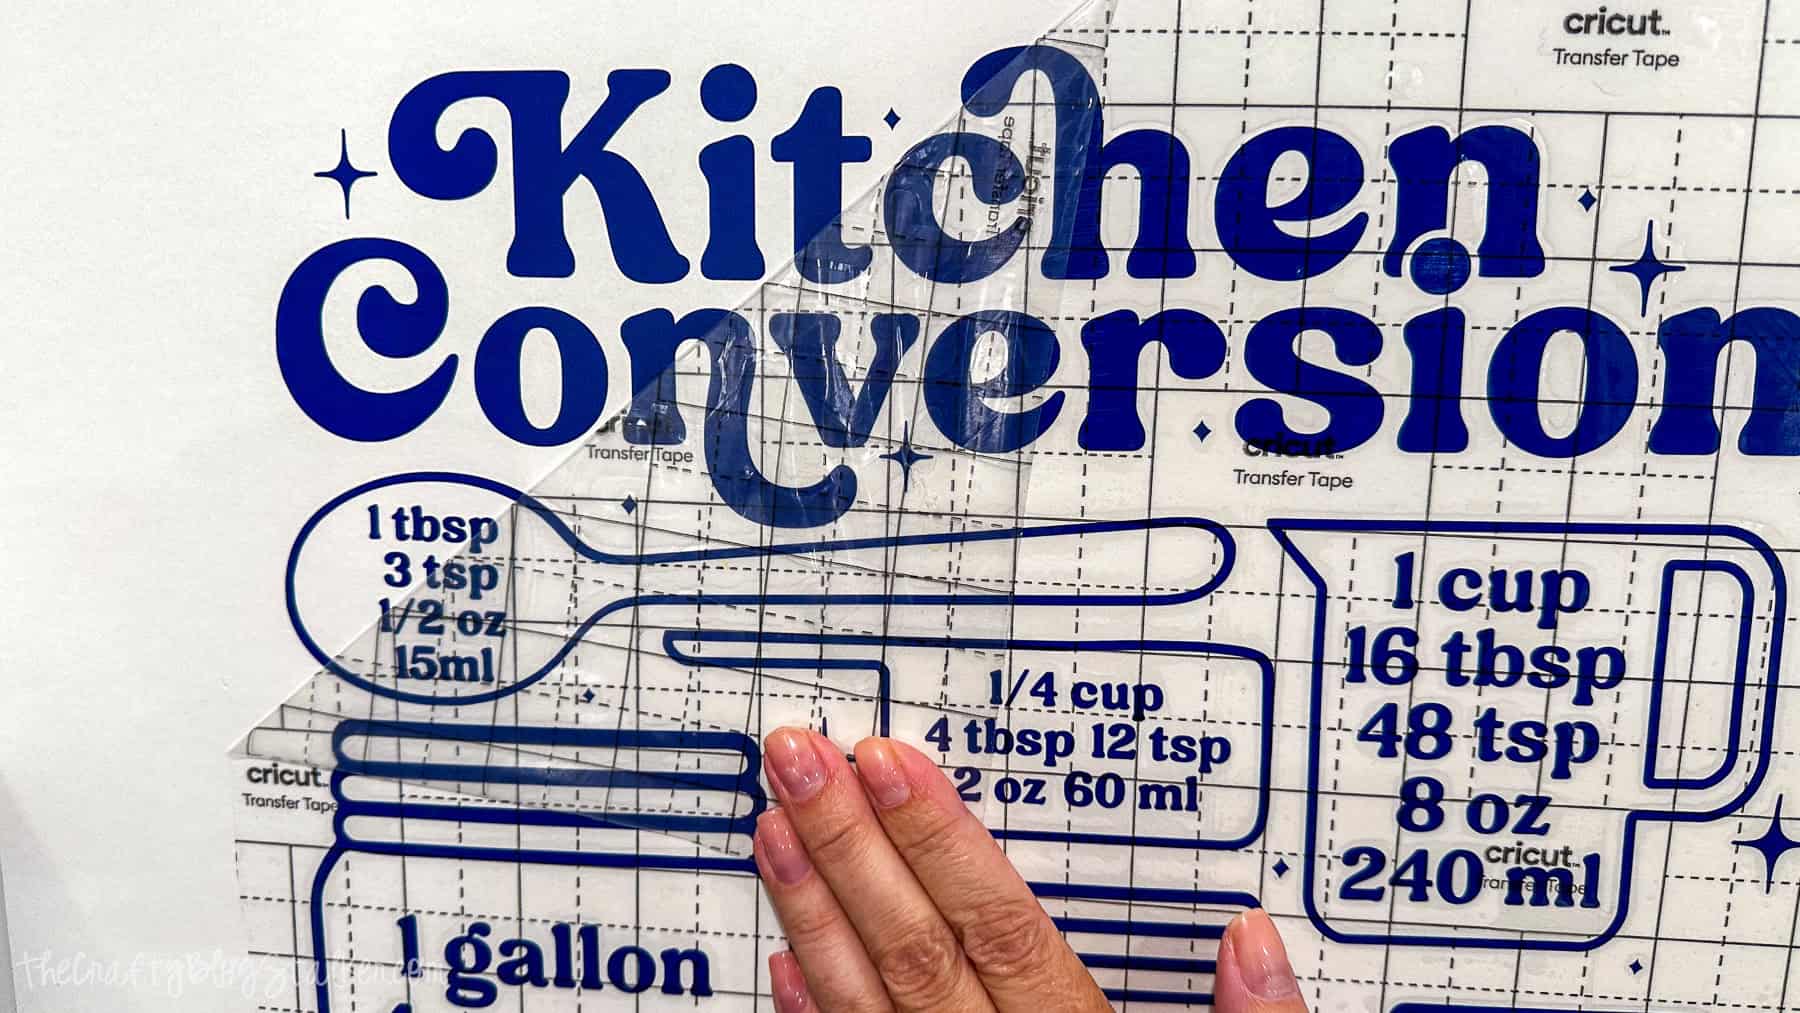
Once the entire design is in place, go over it again with the scraper tool to help everything adhere.
Then carefully peel the transfer tape away, starting from one corner and pulling it straight back. Watch closely to make sure all parts of the decal stay on the cabinet, not on the tape.
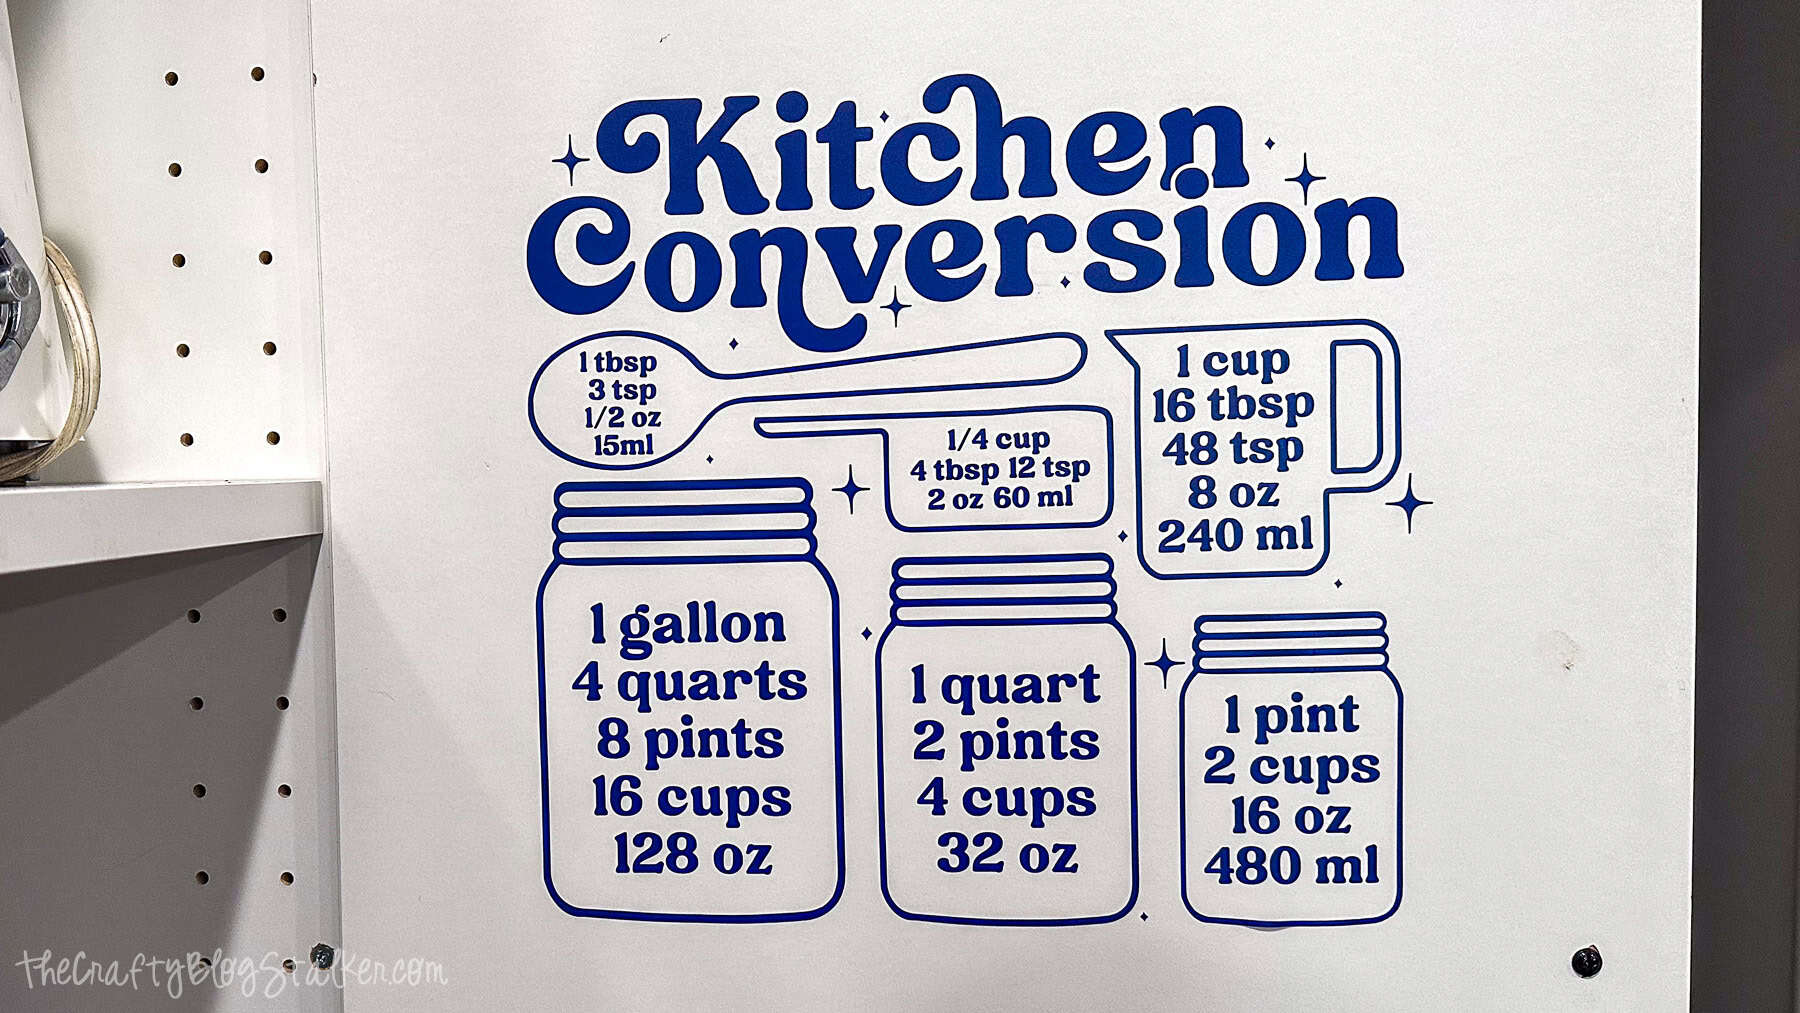
And that’s it!
Now you have a super handy cooking measurement chart right in your kitchen.
It’s perfect for quick ingredient conversions when you’re working with tablespoons, teaspoons, grams, or other recipe measurements.